メインコンテンツにスキップ

Sony Xperia Zのリアカメラの交換

注意:あなたはさきほど閲覧しているガイドの前提となるページを編集しています。あなたが行った変更は、この手順を含むガイド全体に影響を与えます。

英語
日本語

手順 1を翻訳中

手順1
Sony Xperia Z Rear Facing Camera Replacement: 手順 0、 3の画像 1 Sony Xperia Z Rear Facing Camera Replacement: 手順 0、 3の画像 2 Sony Xperia Z Rear Facing Camera Replacement: 手順 0、 3の画像 3
  • Do not remove all the copper tape. Only remove the copper tape attached to the silver part of the motherboard.

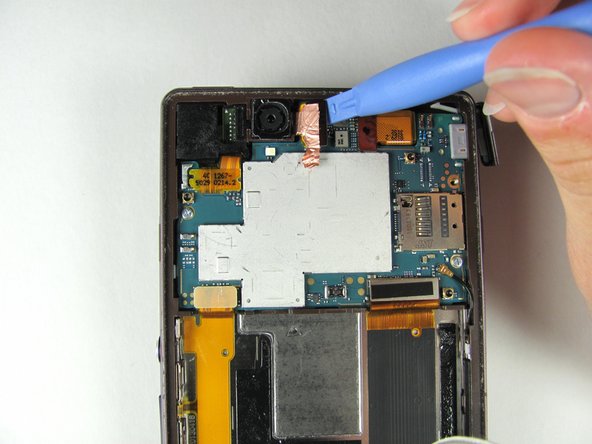
  • Release the copper tape located at the top middle of the phone with a plastic opening tool. This will take some force since the adhesive is rather strong.

  • With the plastic opening tool, release the pop connector, by lifting up to release it. The pop connector should still be attached to the copper tape.

  • Pull up gently on the copper tape and pop connector to remove the back camera. It should pop out easily.

コッパー(銅)テープを全て外さないでください。マザーボードのシルバーの部分に留められた箇所のみ外します。

電話の上部中央に留められたコッパーテープをプラスチックの開口ツールを使って外します。接着力が強いため、少し力が必要です。

続いて、プラスチックの開口ツールを使って、コネクターを持ち上げて接続を外します。コネクターはコッパーテープに留められたままにします。

コッパーテープとコネクターをゆっくりと上向きに引っ張り、バックカメラを取り出します。簡単に取り出せるはずです。

クリエイティブコモンズのオープンソース著作権のもと、あなたの投稿は著作権の対象となります