メインコンテンツにスキップ

Comment coudre au point de surjet

ご注意:あなたは前提となるガイドを編集しています。あなたが行なう変更は、この手順を含むガイド全体に反映されます。

英語
フランス語

手順 3を翻訳中

手順3
How to Sew a Whip Stitch: 手順 0、 3の画像 1 How to Sew a Whip Stitch: 手順 0、 3の画像 2 How to Sew a Whip Stitch: 手順 0、 3の画像 3
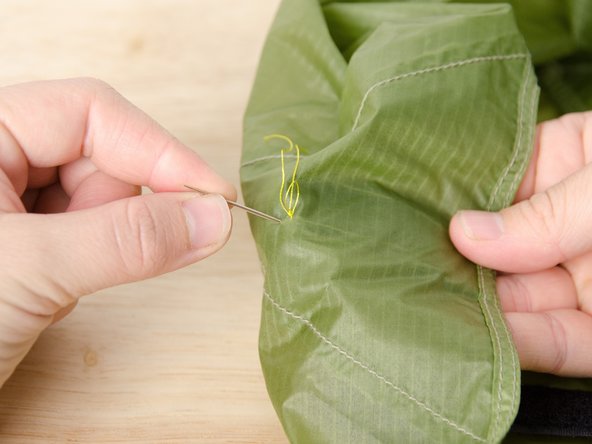
  • Drive the needle down through the top and bottom layers of fabric, close to where the needle came up.

  • The distance between where the needle comes up and goes down will be your stitch length. The smaller the stitch length, the more stitches required—and the stronger the seam.

  • Pull the thread taut on the backside of the bottom material.

Piquez l'aiguille à travers les deux couches de tissu sur l'endroit, près de là où elle est sortie.

La distance entre le point de sortie et le point d'entrée de l'aiguille sera votre longueur de point. Plus le point est petit, plus il faudra de points – et plus la couture sera solide.

Tirez sur le fil sur l'envers du tissu inférieur.

クリエイティブコモンズのオープンソース著作権のもと、あなたの投稿は著作権の対象となります