手順 6を翻訳中
手順6


-
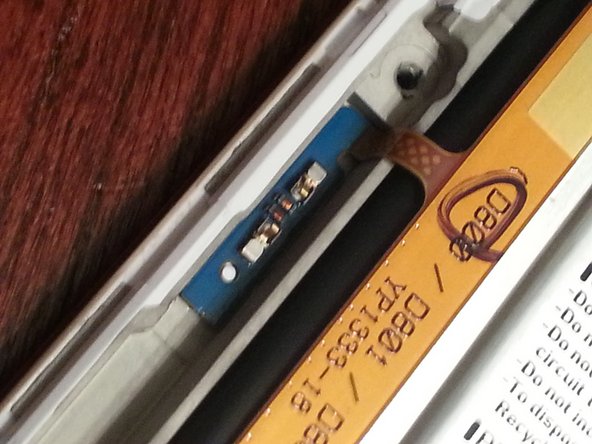
The flex cable running up the right side of the battery is connected to a smaller board, which is held to an EMI shield on the logic board with a small amount of adhesive; it can be carefully pried up.
-
The same thing can be done to the other side. Peel up the tape holding the flex cables down remembering where they went.
クリエイティブコモンズのオープンソース著作権のもと、あなたの投稿は著作権の対象となります。