手順 9を翻訳中
手順9


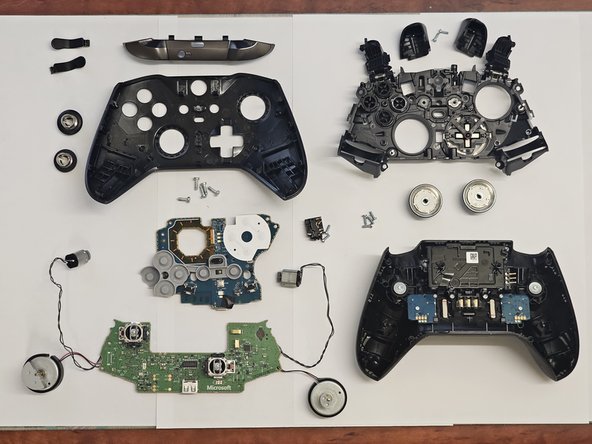


Remove the Daughterboard
-
Remove the 4 T-6 Torx screws (yellow circles) holding down the daughterboard.
-
Slide the daughterboard up along the dowel pin in the bottom left corner (red circle).
-
The remaining buttons will also become dislodged during this stage. Once removed you will be able to see the unique mounting locations of the buttons which stop incorrect fitment of the buttons during assembly—so no accidental “A” where the “X” should be.
クリエイティブコモンズのオープンソース著作権のもと、あなたの投稿は著作権の対象となります。