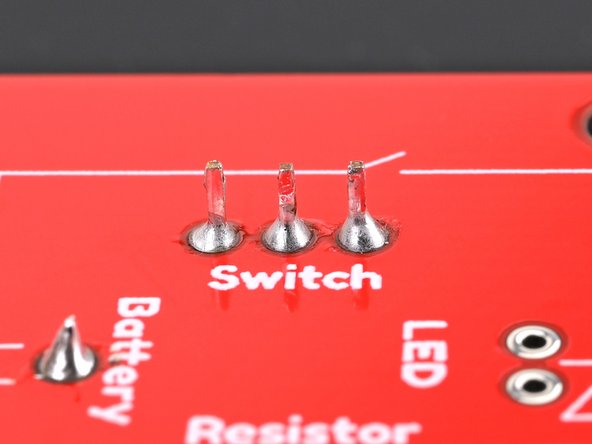
メインコンテンツにスキップ

基本的なLED懐中電灯のDIYはんだ付けキットの組み立て

英語
日本語

手順 19を翻訳中

手順19
Basic LED Flashlight DIY Soldering Kit Assembly, Check your work: 手順 0、 2の画像 1 Basic LED Flashlight DIY Soldering Kit Assembly, Check your work: 手順 0、 2の画像 2
Check your work
  • Double-check that the switch is flush with the board and that its solder joints are making a solid connection.

  • Check if any solder unintentionally bridged with a different joint. If so, carefully use your iron to heat the solder between the joints and separate the bridge. If the bridge doesn't want to separate, desolder it and try again.

スイッチが基板と同一平面になっており、はんだ付けされた接続部分がしっかりと接続されていることを再度確認します。

はんだが意図せず他の接続部分とブリッジ(短絡)していないか確認します。ブリッジが発生している場合は、半田ごてを使用して接続部分のはんだを慎重に熱し、ブリッジを分離します。ブリッジが分離しない場合は、乖離部分をはんだを吸い取り、再度作業を行います。

クリエイティブコモンズのオープンソース著作権のもと、あなたの投稿は著作権の対象となります