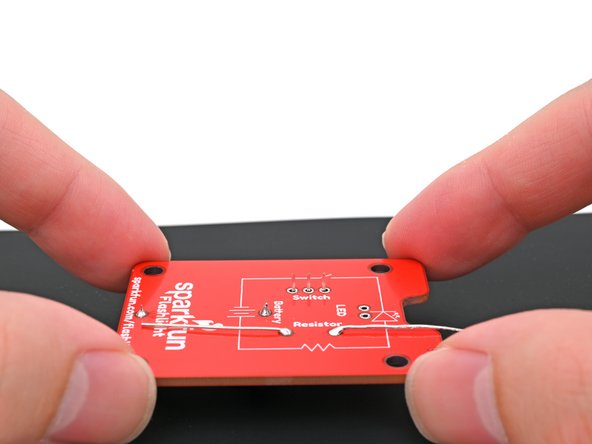
メインコンテンツにスキップ

基本的なLED懐中電灯のDIYはんだ付けキットの組み立て

英語
日本語

手順 17を翻訳中

手順17
Basic LED Flashlight DIY Soldering Kit Assembly, Flip the board over: 手順 0、 3の画像 1 Basic LED Flashlight DIY Soldering Kit Assembly, Flip the board over: 手順 0、 3の画像 2 Basic LED Flashlight DIY Soldering Kit Assembly, Flip the board over: 手順 0、 3の画像 3
Flip the board over
  • Hold the switch flush against the front of the circuit board.

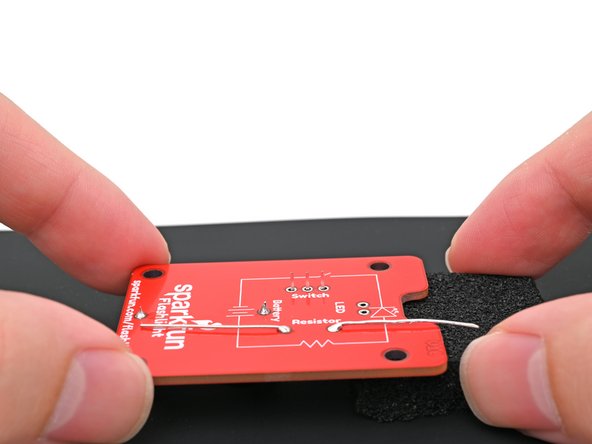
  • Flip the board over and set it down so the switch is resting on your work mat or surface.

  • Place the foam block underneath the board to keep it level while you solder.

スイッチを回路版の前面にぴったりと当てます。

基板を裏返し、スイッチが作業マットまたは作業面に接するように置きます。

はんだ付け中は、基板を水平に保つために、フォーム製ブロックを基板の下に置きます。

クリエイティブコモンズのオープンソース著作権のもと、あなたの投稿は著作権の対象となります