手順 8を翻訳中
手順8


-
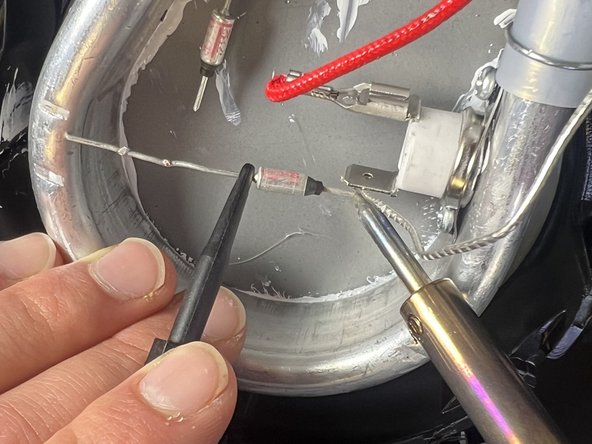
Hold the tail of the fuse with tweezers at the contact point from the previous fuse.
-
Melt the solder material with the soldering iron at the point of contact until it melts and beads onto the tail of the fuse.
-
Hold the head of the new fuse with the tweezers at the contact point from the removed fuse.
-
Melt the solder material with the soldering iron at the point of contact until it melts and beads onto the head of the fuse.
-
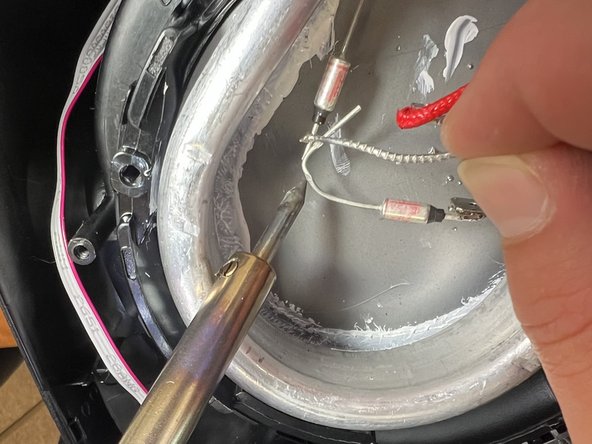
While touching the wires of the fuses together, melt the soldering material with the soldering iron until it melts and beads onto the two wires.
クリエイティブコモンズのオープンソース著作権のもと、あなたの投稿は著作権の対象となります。