メインコンテンツにスキップ

Motorola Moto X Teardown

英語
日本語

手順 6を翻訳中

手順6
Motorola Moto X Teardown: 手順 0、 3の画像 1 Motorola Moto X Teardown: 手順 0、 3の画像 2 Motorola Moto X Teardown: 手順 0、 3の画像 3
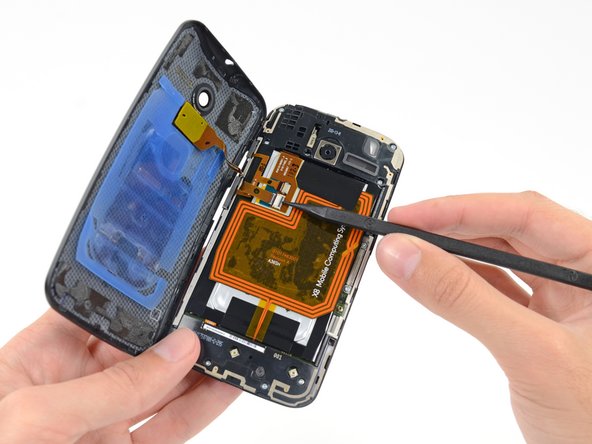
  • Even after defeating Big Blue, the rear panel still does not yield.

  • We release the ZIF connector of a big ol' rear-case-mounted flash assembly, and after 6 full steps, we are finally into the device.

  • Our guess is that the adhesive pad was added to make the phone feel more solid than one purely secured with clips. The pad also keeps the flash firmly in place, and may act as as padding to protect internal components.

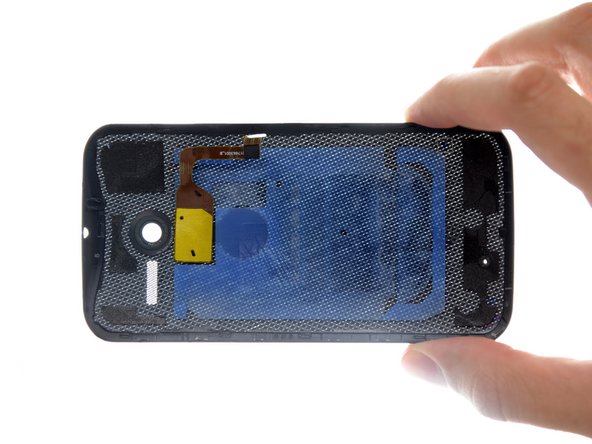
  • Our "Woven Black" case has a nice weave. While it's probably not actual kevlar fibers, the molding makes for a nice view — you can see right through it!

ここに翻訳を挿入する

ここに翻訳を挿入する

ここに翻訳を挿入する

ここに翻訳を挿入する

クリエイティブコモンズのオープンソース著作権のもと、あなたの投稿は著作権の対象となります