手順 14を翻訳中
手順14

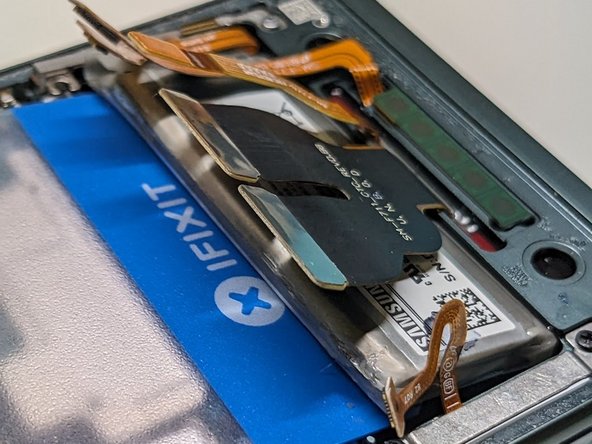


Fold/Flip The Phone & Remove Battery
-
At this time we are going to fold and flip over the phone.
-
We are going to take advantage of the ISO/Heat bath it was just in and pry it out the same way as the lower battery. This time it seemed easier pulling it from the top.
-
Now that the battery is out we can focus on pulling the 1 screw on the bottom right corner of the third picture. This part is connected to another area so be careful.
クリエイティブコモンズのオープンソース著作権のもと、あなたの投稿は著作権の対象となります。