手順 5を翻訳中
手順5

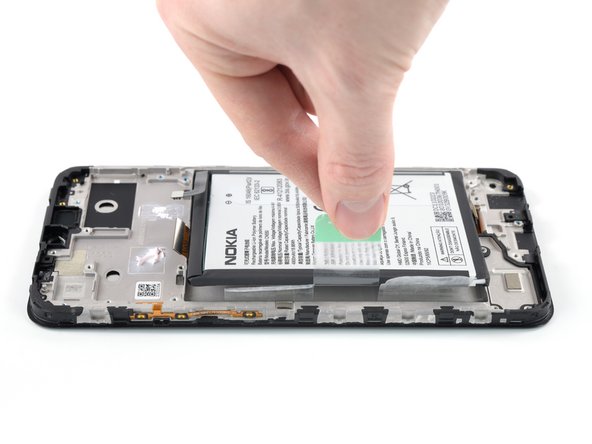


Lift out the battery
-
Use your fingers to peel the center green pull tab off of the battery.
-
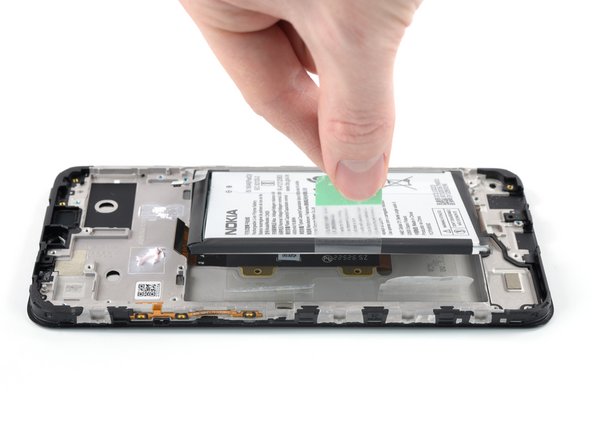
Using one hand to hold the phone down, use your other hand to slowly and steadily lift the center green pull tab up to separate the adhesive securing the battery underneath.
-
If you have any difficulties with stubborn battery adhesive, you can contact "Nokia phones support".
クリエイティブコモンズのオープンソース著作権のもと、あなたの投稿は著作権の対象となります。