メインコンテンツにスキップ

Reemplazo de la pantalla del Nokia G22

手順 3を翻訳中

英語
スペイン語
手順3
Nokia G22 Screen Assembly Replacement, Remove the foam pad: 手順 0、 3の画像 1 Nokia G22 Screen Assembly Replacement, Remove the foam pad: 手順 0、 3の画像 2 Nokia G22 Screen Assembly Replacement, Remove the foam pad: 手順 0、 3の画像 3
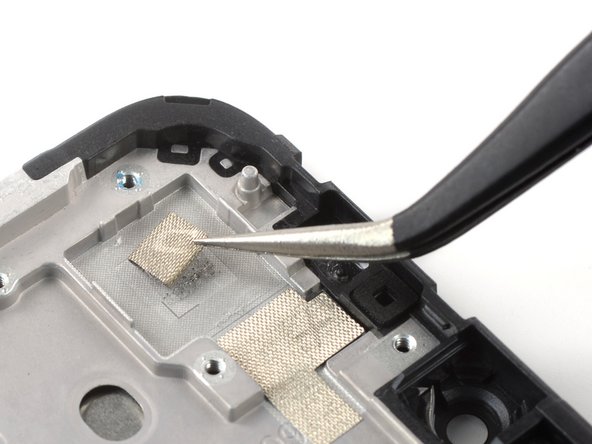
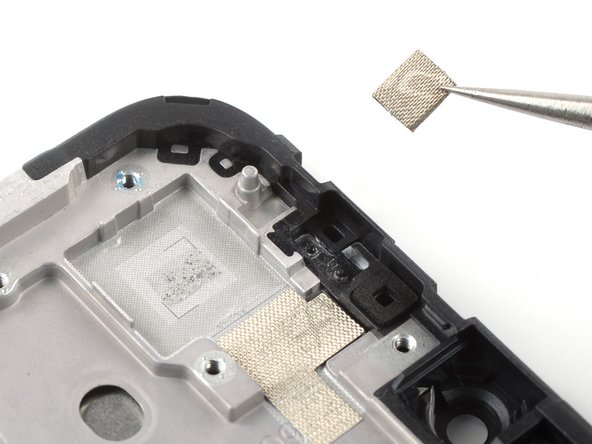
Remove the foam pad
  • If your new screen assembly comes with a foam pad you can skip this step. If not you’ll need to transfer the old pad or apply a new one.

  • Use a pair of tweezers to carefully peel the foam off of the frame to remove it.

  • The foam pad in the camera recess is held in place with mild adhesive.

  • During reassembly, transfer the old foam pad or install a new one for the new screen assembly. You can install the camera bracket first to help orient the foam pad.

Si tu nueva pantalla viene con una almohadilla de espuma, puedes saltarte este paso. Si no, tendrás que quitar la almohadilla para la transferencia.

Utiliza unas pinzas para despegar con cuidado la espuma del marco y retirarla.

La almohadilla de espuma en el hueco de la cámara se mantiene en su lugar con un adhesivo suave.

Durante el reensamblaje, instala la almohadilla de espuma en el nuevo ensamblaje de la pantalla presionándola ligeramente. Utiliza cinta adhesiva si es necesario.

-[title] Foam pad
-[* icon_note] If your new screen assembly comes with a foam pad you can skip this step. If not you’ll need to remove the pad for transfer.
+[title] Remove the foam pad
+[* icon_note] If your new screen assembly comes with a foam pad you can skip this step. If not you’ll need to transfer the old pad or apply a new one.
[* black] Use a pair of tweezers to carefully peel the foam off of the frame to remove it.
[* icon_note] The foam pad in the camera recess is held in place with mild adhesive.
-[* icon_reminder] During reassembly, install the foam pad on the new screen assembly by lightly pressing it down. Use adhesive tape if necessary.
+[* icon_reminder] During reassembly, transfer the old foam pad or install a new one for the new screen assembly. You can install the camera bracket first to help orient the foam pad.

クリエイティブコモンズのオープンソース著作権のもと、あなたの投稿は著作権の対象となります