メインコンテンツにスキップ

ASUS TUF Gaming F15 FX506L 뒷면 커버 교체

注意:あなたは必要条件ガイドを編集しています。あなたが行なう変更は、この手順を含む全ての5個のガイドに反映されます。

英語
韓国語

手順 3を翻訳中

手順3
ASUS TUF Gaming F15 FX506L Back Cover Replacement, Release the remaining clips: 手順 0、 3の画像 1 ASUS TUF Gaming F15 FX506L Back Cover Replacement, Release the remaining clips: 手順 0、 3の画像 2 ASUS TUF Gaming F15 FX506L Back Cover Replacement, Release the remaining clips: 手順 0、 3の画像 3
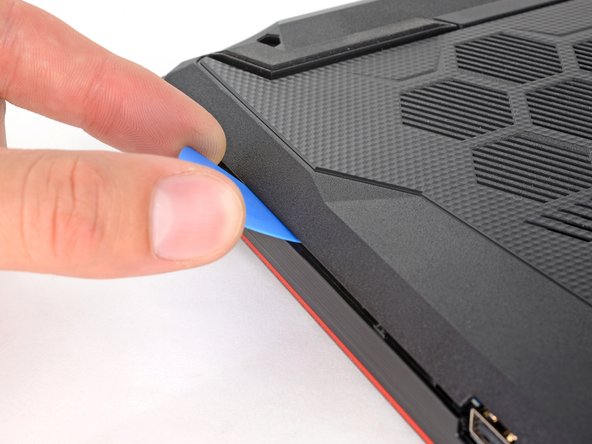
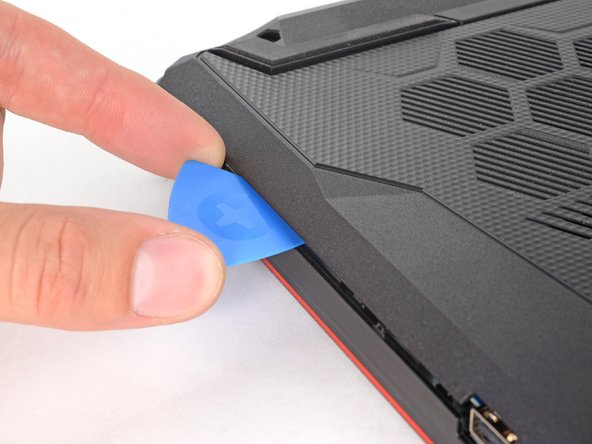
Release the remaining clips
  • Insert your opening pick again between the top-left corner of the back cover and the chassis.

  • Insert the pick at a steep angle. Pry up to release the remaining clips securing the back cover.

피크를 왼쪽 아래 모서리에 뒷면 커버와 몸체 사이에 끼우십시오.

피크를 크게 기울여 끼웁니다. 피크를 수평으로 눕히며 나머지 클립도 분리합니다.

クリエイティブコモンズのオープンソース著作権のもと、あなたの投稿は著作権の対象となります