ご注意:あなたは前提となるガイドを編集しています。あなたが行なう変更は、この手順を含むガイド全体に反映されます。
手順 17を翻訳中
手順17

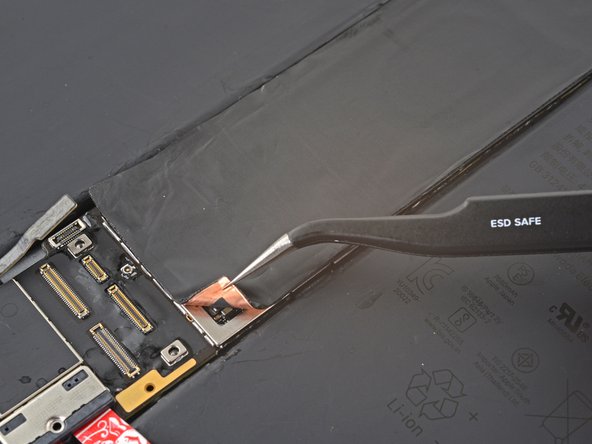
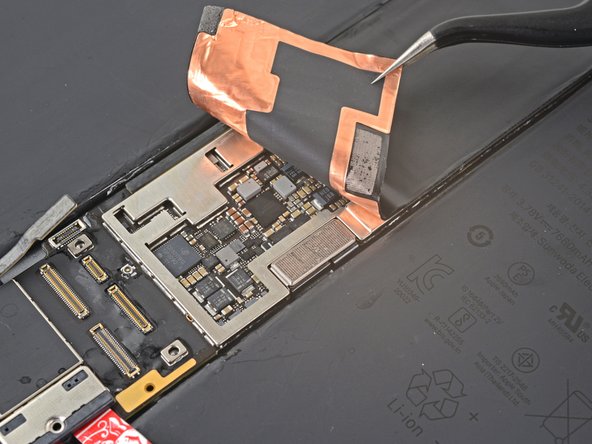


Peel back the bottom logic board shielding
-
Use tweezers or your fingers to peel back the logic board shielding to reveal the hidden press connectors.
クリエイティブコモンズのオープンソース著作権のもと、あなたの投稿は著作権の対象となります。