注意:あなたはさきほど閲覧しているガイドの前提となるページを編集しています。あなたが行った変更は、この手順を含むガイド全体に影響を与えます。
手順 2を翻訳中
手順2

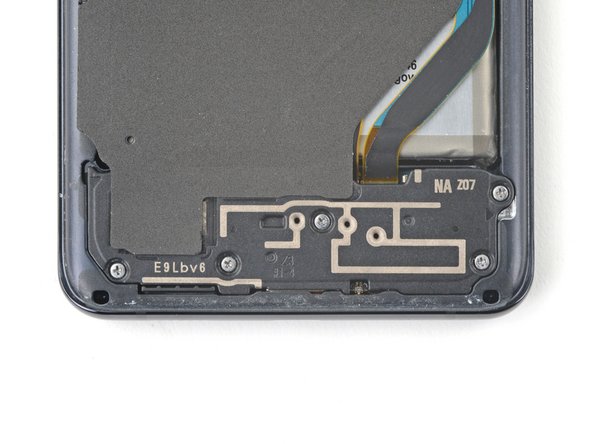


Unfasten the loudspeaker
-
Use a Phillips #00 screwdriver to remove the five 3.9 mm-long screws securing the loudspeaker and lower midframe.
| [title] Unfasten the loudspeaker | |
| [* red] Use a Phillips #00 screwdriver to remove the five 3.9 mm-long screws securing the loudspeaker and lower midframe. | |
| [* icon_note] Throughout this repair, [product|IF145-167-4|keep track of each screw|new_window=true] and make sure it goes back exactly where it came from. | |
| - | [* icon_reminder] If you're reassembling with the Samsung Self-Repair kit, be sure to replace the screws with new ones labeled ***#3373***. |
クリエイティブコモンズのオープンソース著作権のもと、あなたの投稿は著作権の対象となります。