手順 6を翻訳中
手順6


-
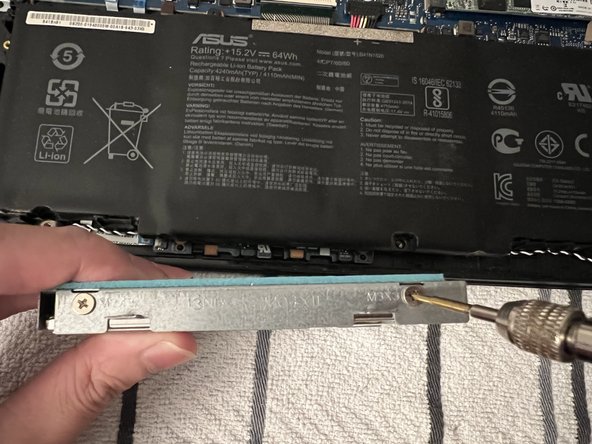
Remove the two 3.0 mm screws on each side of the HDD mounting bracket using a Phillips #1 screwdriver.
-
Lift the HDD out of the mounting bracket, and install a new HDD or SSD to the mounting bracket.
クリエイティブコモンズのオープンソース著作権のもと、あなたの投稿は著作権の対象となります。