メインコンテンツにスキップ

Google Pixel 4 スクリーンの交換

英語
日本語

手順 5を翻訳中

手順5
Google Pixel 4 Screen Replacement: 手順 0、 3の画像 1 Google Pixel 4 Screen Replacement: 手順 0、 3の画像 2 Google Pixel 4 Screen Replacement: 手順 0、 3の画像 3
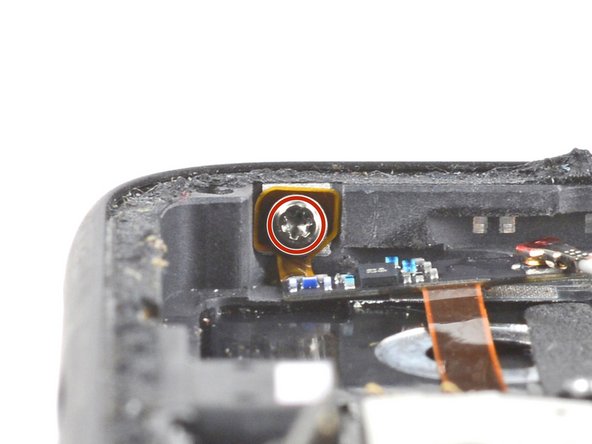
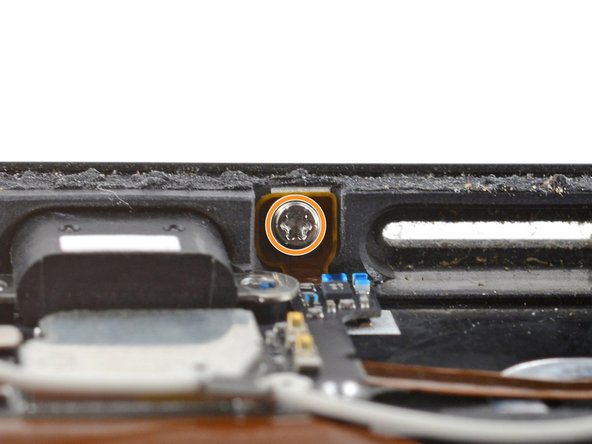
  • Use a T3 Torx driver to remove the two screws securing the charging assembly to the frame:

  • One 2.1 mm screw on the left side of the frame.

  • One 2.1 mm screw on the bottom side of the frame.

T3トルクスドライバーを使って、フレームに充電アセンブリを固定しているネジを2本外します。

フレームに充電アセンブリの左側を固定している 2.1 mmネジを1本外します。

フレームに充電アセンブリ下部を固定している 2.1 mmネジを1本外します。

クリエイティブコモンズのオープンソース著作権のもと、あなたの投稿は著作権の対象となります