手順 4を翻訳中
手順4

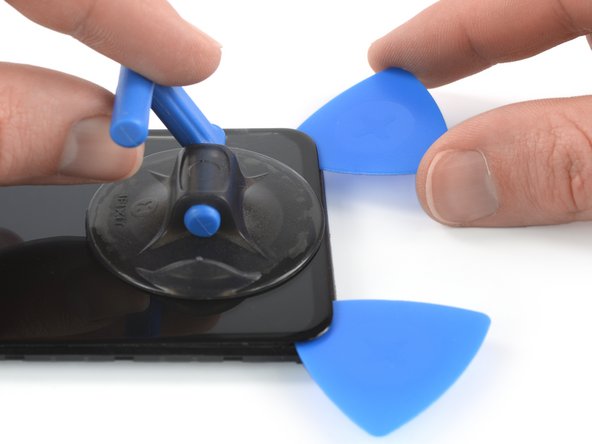


Slice the display adhesive
-
Insert a second opening pick and slide it to the bottom right corner of the screen to cut the adhesive.
-
Leave the picks in their place to prevent the adhesive from resealing.
クリエイティブコモンズのオープンソース著作権のもと、あなたの投稿は著作権の対象となります。