メインコンテンツにスキップ

Google Pixel 4ディスプレイアセンブリの交換

英語
日本語

手順 5を翻訳中

手順5
Google Pixel 4 Display Assembly Replacement: 手順 0、 2の画像 1 Google Pixel 4 Display Assembly Replacement: 手順 0、 2の画像 2
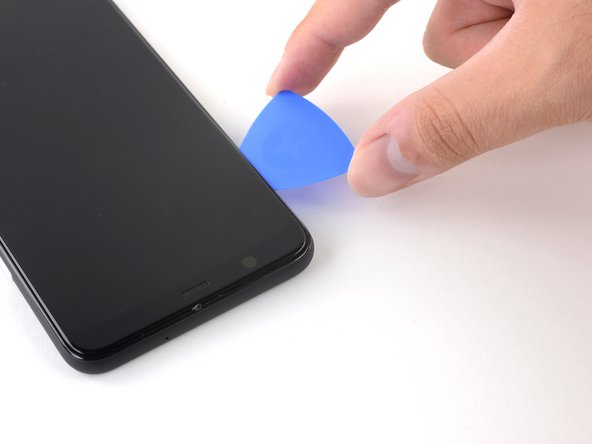
  • Insert a second opening pick underneath the display assembly in the top left corner of the phone, near the front-facing camera cutout.

  • If this is difficult, you may need to reapply an iOpener to the upper edge of the display assembly.

  • Slide the opening pick around the corner and down the left side of the phone, stopping about halfway down, and leave the pick inserted.

2枚目の開口ピックを、フロントカメラの切り欠き付近、ディスプレイアセンブリ左上コーナーの下に差し込みます。

作業が上手く進まない場合は、再度温めたiOpenerをディスプレイアセンブリ上部端に当ててください。

開口ピックをデバイス左端に沿って、上下にスライドします。半分下辺りで作業を止めて、その場に開口ピックを残します。

クリエイティブコモンズのオープンソース著作権のもと、あなたの投稿は著作権の対象となります