メインコンテンツにスキップ

iPod Touch 7th Generation LCD Shield Plate Replacement

注意:あなたは必要条件ガイドを編集しています。あなたが行なう変更は、この手順を含む全ての8個のガイドに反映されます。

英語
中国語

手順 1を翻訳中

手順1
iPod Touch 7th Generation LCD Shield Plate Replacement: 手順 0、 2の画像 1 iPod Touch 7th Generation LCD Shield Plate Replacement: 手順 0、 2の画像 2
  • Gently fold the display over away from the rest of the iPod, taking care not to disconnect or break any of the ribbon cables. Set the two halves flat on a table or bench.

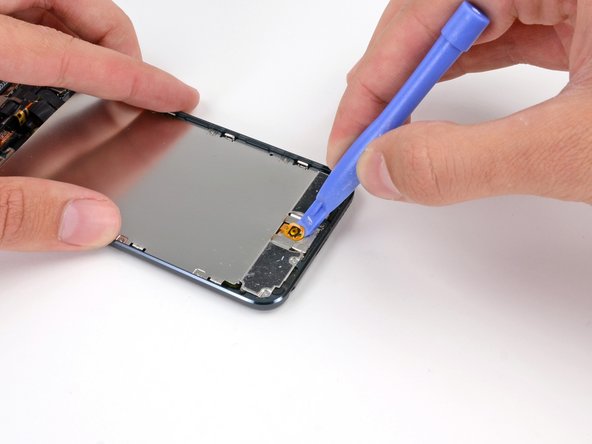
  • If your iPod has a black home button assembly rather than the orange one shown here, you can skip this step. The button is not attached to the LCD plate and does not need to be removed to complete the repair.

  • Use a plastic opening tool to pry the home button switch up from the LCD plate.

  • It may be necessary to use a heat gun or hair dryer to soften the adhesive on the back of the home button. Always use a low heat setting.

  • Do not attempt to remove the home button switch, as it is connected to components below the LCD plate.

ここに翻訳を挿入する

ここに翻訳を挿入する

ここに翻訳を挿入する

ここに翻訳を挿入する

ここに翻訳を挿入する

クリエイティブコモンズのオープンソース著作権のもと、あなたの投稿は著作権の対象となります