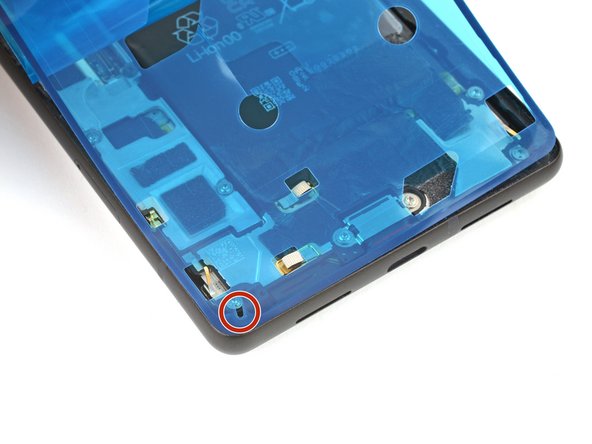
メインコンテンツにスキップ

カスタム加工された両面テープの装着方法

英語
日本語

手順 5を翻訳中

手順5
How to Apply Custom-cut Adhesive Strips, Apply the adhesive: 手順 0、 3の画像 1 How to Apply Custom-cut Adhesive Strips, Apply the adhesive: 手順 0、 3の画像 2 How to Apply Custom-cut Adhesive Strips, Apply the adhesive: 手順 0、 3の画像 3
Apply the adhesive
  • Be very careful as you align the adhesive! The adhesive is very sticky and deforms easily. Once it touches a surface, you can't reposition it—you'll likely need to start over with a new strip.

  • As you position the adhesive, look for alignment holes that line up with physical holes in the frame of your device.

  • Some adhesives feature unique cutouts in the corners that reflect holes or features in the frame.

両面テープを貼り付ける際は十分注意してください。両面テープは粘着力が強く、形が崩れやすいです。一度どこかに触れてしまったら貼り直しはできません。その場合は新しいテープを用意してやり直すことになるでしょう。

両面テープの位置を決める際は、位置決め用がデバイスのフレームにある穴と同じ位置にあるか確認しましょう。

両面テープによってはフレームの穴や形状に合わせた独特の切り欠きがあることがあります。

クリエイティブコモンズのオープンソース著作権のもと、あなたの投稿は著作権の対象となります