メインコンテンツにスキップ

Google Pixel 3a スクリーンの交換

注意:あなたはさきほど閲覧しているガイドの前提となるページを編集しています。あなたが行った変更は、この手順を含むガイド全体に影響を与えます。

英語
日本語

手順 4を翻訳中

手順4
Google Pixel 3a Screen Replacement: 手順 0、 3の画像 1 Google Pixel 3a Screen Replacement: 手順 0、 3の画像 2 Google Pixel 3a Screen Replacement: 手順 0、 3の画像 3
  • This step shows how to insert the pick without damaging the OLED panel. Do this before you slice either long edges of the phone.

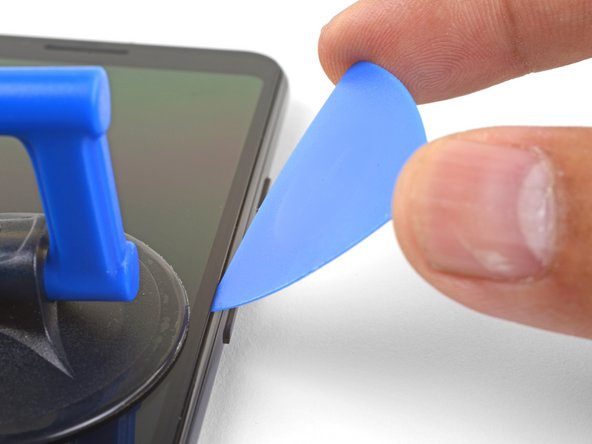
  • With the pick 1 mm in the gap, pivot the pick upwards to a steep angle.

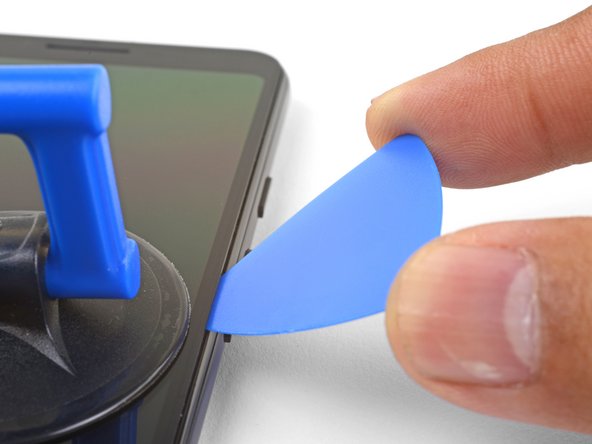
  • At this angle, carefully push the pick into the gap about 1/4" (6 mm). The pick should slide in below the OLED panel.

  • Stop if you feel the point of the pick hitting a ridge. The pick may be pressing against the edge of the OLED panel. Angle the pick and try again.

この手順は、OLEDパネルにダメージを与えることなく、開口ピックを差し込む方法です。デバイスの長辺側を切開する前に、この作業を行ってください。

開口ピックが1mmの隙間に差し込んであるため、ピックを大きな角度で上向きに持ち上げます。

この角度で、慎重に差し込んだ開口ピックを隙間内側約6mm程度まで押し込みます。このピックで、OLEDパネルの下側をスライドします。

ピックが何か障害物に到達したと感じた時点でスライドを止めます。このピックはOLEDパネルの端に当たっている可能性があります。ピックの角度を調節して、再度スライドを再開してください。

クリエイティブコモンズのオープンソース著作権のもと、あなたの投稿は著作権の対象となります