注意:あなたは必要条件ガイドを編集しています。あなたが行なう変更は、この手順を含む全ての3個のガイドに反映されます。
手順 6を翻訳中
手順6


-
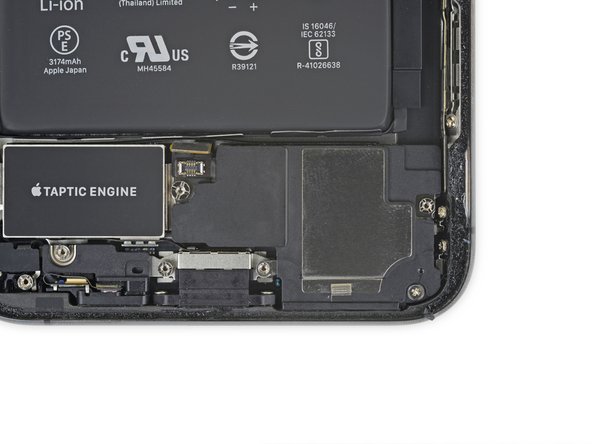
Remove the three screws securing the speaker:
-
One 2.7 mm Phillips screw
-
One 2.9 mm standoff screw
-
One 3.1 mm standoff screw
| [* black] Remove the three screws securing the speaker: | |
| [* red] One 2.7 mm Phillips screw | |
| [* orange] One 2.9 mm standoff screw | |
| [* yellow] One 3.1 mm standoff screw | |
| - | [* icon_note] Standoff screws are best removed using an [product|IF145- |
| + | [* icon_note] Standoff screws are best removed using an [product|IF145-373-71|iPhone Standoff bit|new_window=true] and [product|IF145-419|driver handle|new_window=true]. |
| [* icon_caution] In a pinch, a small flathead screwdriver will do the job—but use extra caution to ensure it doesn't slip and damage surrounding components. |
クリエイティブコモンズのオープンソース著作権のもと、あなたの投稿は著作権の対象となります。