必要な工具と部品
-
-
Power off your iPhone before beginning disassembly.
-
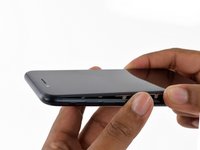
Remove the two 3.4 mm pentalobe screws on the bottom edge of the iPhone.
-
-
-
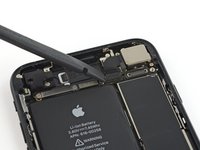
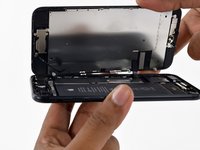
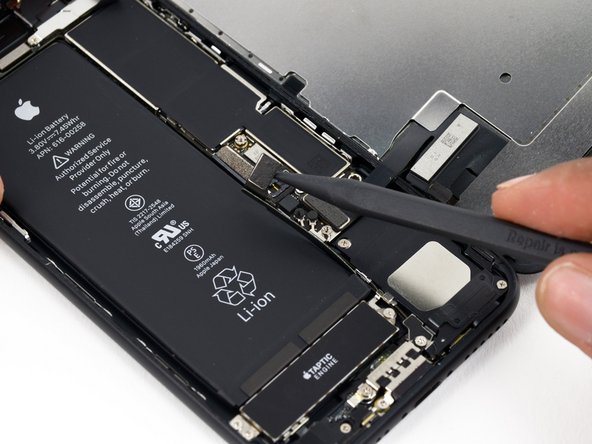
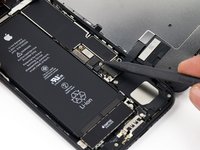
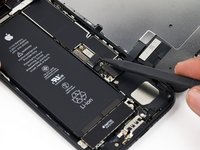
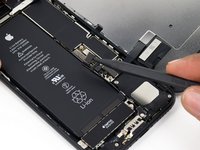
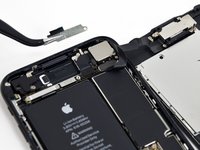
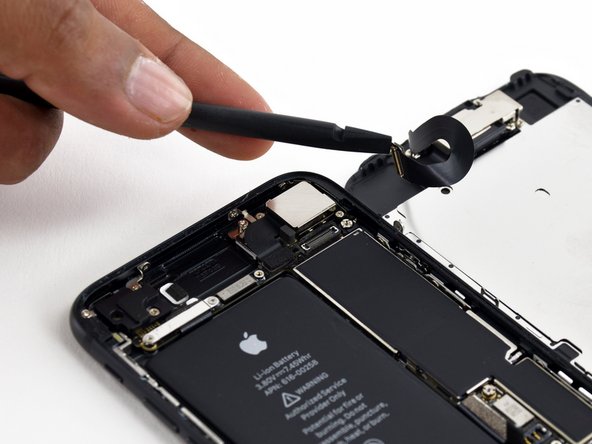
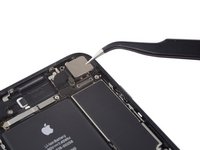
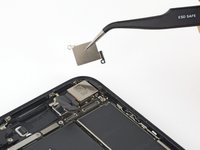
Use a spudger or a fingernail to disconnect the two lower display connectors by prying them straight up from their sockets on the logic board.
-
-
-
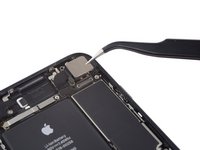
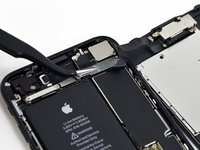
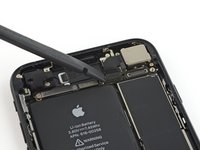
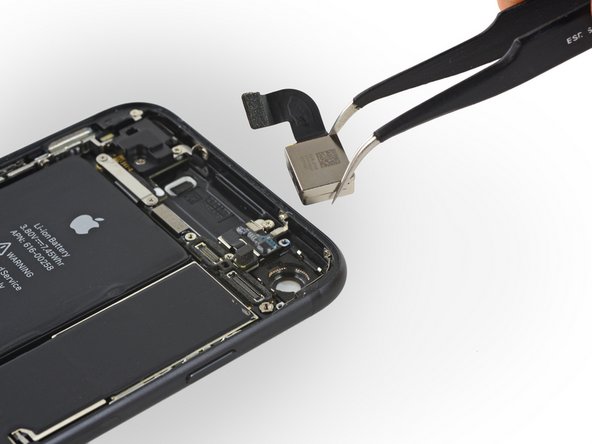
Use the flat end of a spudger to disconnect the rear-facing camera's press connector from its socket on the logic board.
-
-
-
Turn off your iPhone before starting to take it apart.
-
Remove the two 3.4 mm pentalobe screws at the bottom of your iPhone
-
-
-
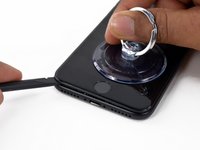
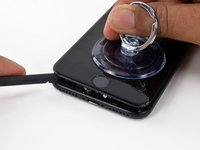
Put the hot iOpener over the bottom of the phone to soften the adhesive that holds the display.
-
-
-
-
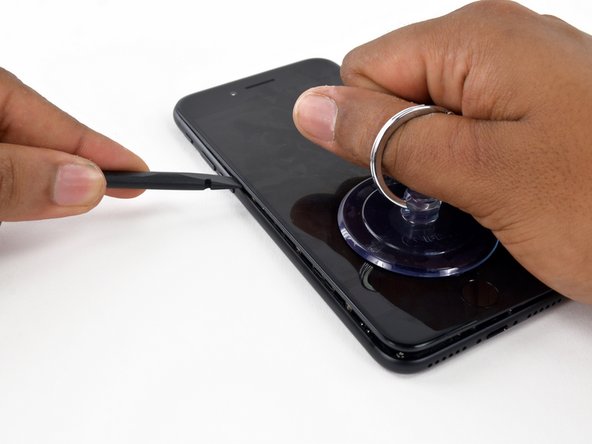
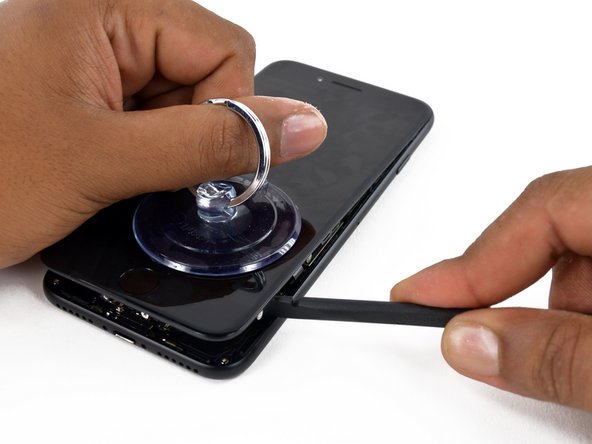
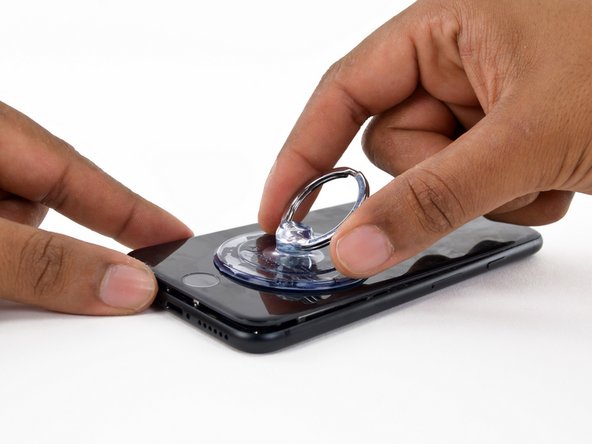
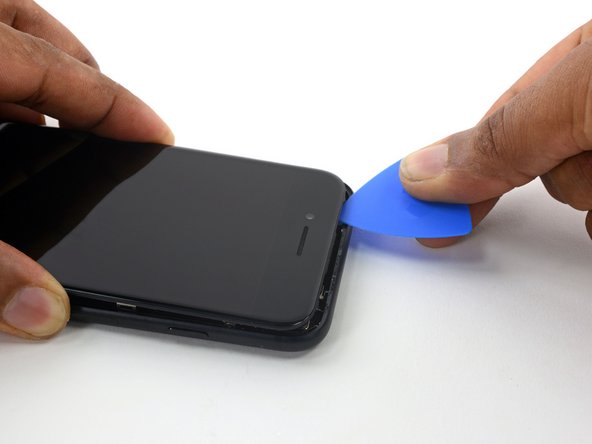
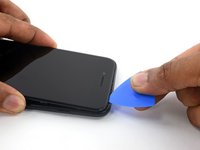
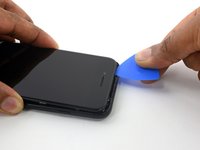
Remove the spudger from the left side of the iPhone and insert the flat end into the lower right corner of the device.
-
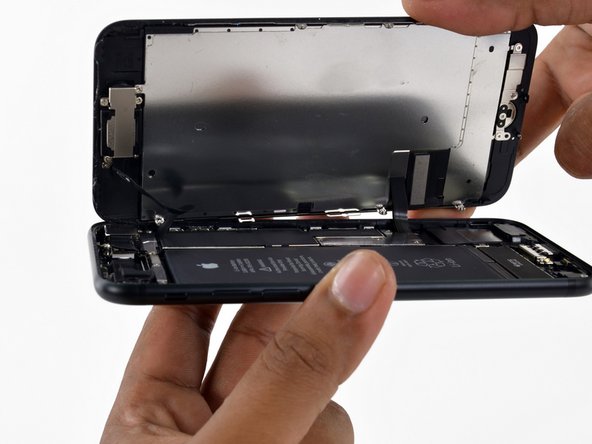
Rotate the spudger to widen the gap between the display assembly and the rear case.
-
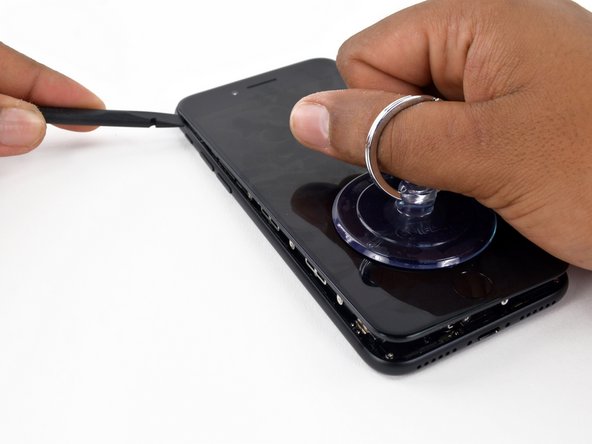
Slide the flat end of the spudger to the right side of the phone to break the adhesive that holds the display in place.
-
-
-
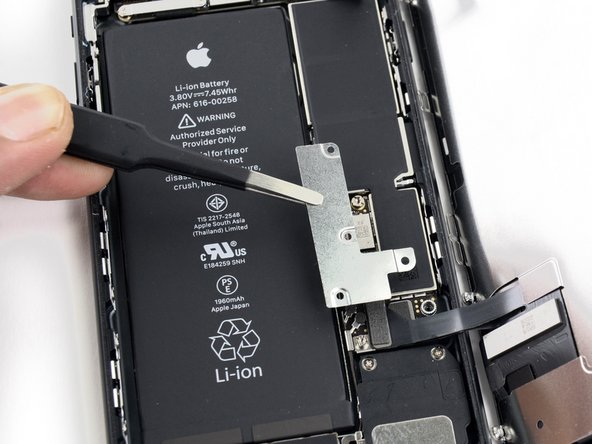
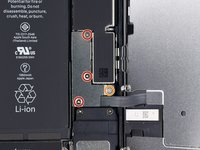
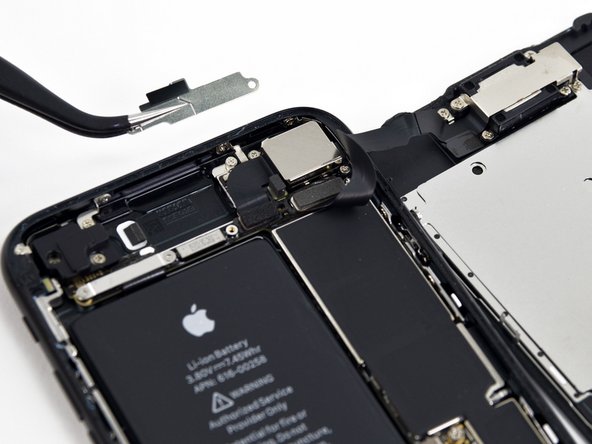
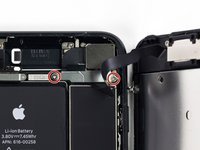
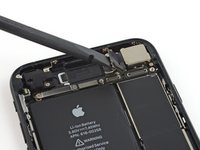
Remove the following Y000 tri-wing screws from the connector lower bracket:
-
Three 1.2 mm screws
-
One 2.4 mm screw
-
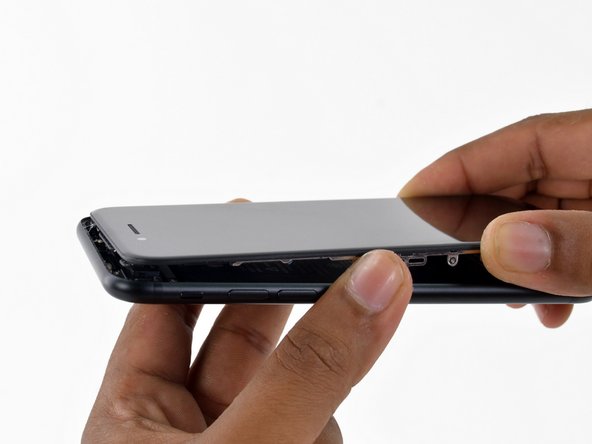
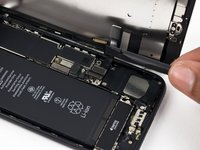
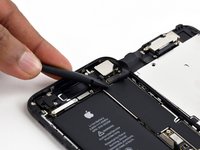
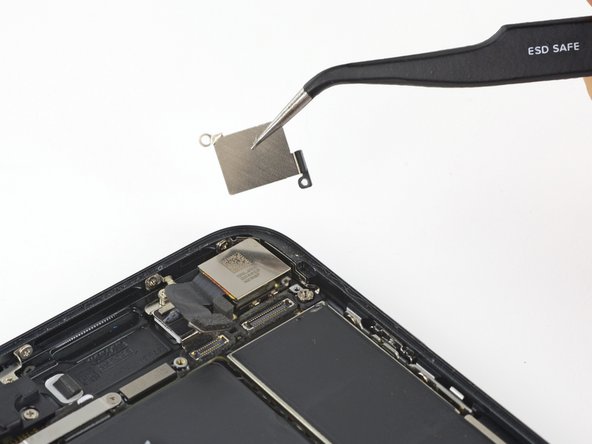
Remove the connector lower bracket.
-
-
-
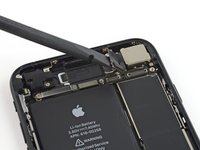
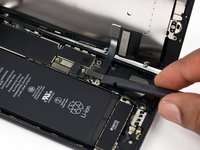
Use the flat end of a spudger or a fingernail to disconnect the two lower display connectors lifting them straight from their socket on the logic board.
-
-
-
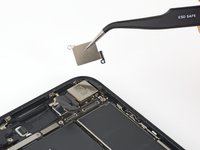
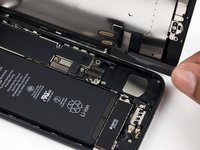
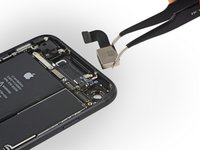
Use the flat end of a spudger to detach the rear camera's pressure connector from its seat on the logic board.
-


To reassemble your device, Follow these instructions in reverse order.
To reassemble your device, Follow these instructions in reverse order.


