この翻訳は機械によって生成されたものであり、まだ人間による校正は行われていません。 日本語を話せますか? レビューはこちらから。
はじめに
この修理ガイドを参照して、壊れたホームボタンを交換します。
必要な工具と部品
-
-
-
-
プラスチック製オープニングツールの先端を使い、ロジックボードのソケットからバッテリーコネクタを慎重に上にこじ開けます。
-
アンテナコネクタを覆っている金属製のカバーを取り外します。
-
-
-
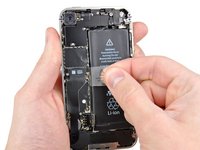
露出した透明なプラスチックのプルタブを上に引き、バッテリーを固定している接着剤からバッテリーを剥がします。
-
端末内にアルコールが残っている場合は、新しいバッテリーを取り付ける前に慎重に拭き取るか、自然乾燥させてください。
-
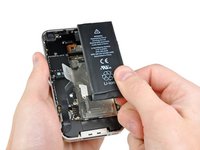
バッテリーを取り外します。
-
再組み立ての前に、金属同士の接触部分をガラスクリーナーなどの脱脂剤で清掃してください。指の油分が無線干渉の問題を引き起こす可能性があります。
-
再組み立て後にハードリセットを実行してください。これにより、いくつかの問題を未然に防ぎ、トラブルシューティングを簡略化できます。
-
-
-
-
ドックコネクタケーブルをロジックボードに固定している1.8 mmのプラスネジ2本を取り外します。
-
薄い金属製のドックコネクタケーブルカバーを取り外します。
-
-
-
プラスチック製オープニングツールの先端を使って、アンテナケーブルをロジックボードのソケットから上にこじ開けます。
-
ロジックボードに取り付けられている金属製のフィンガーの下から、アンテナケーブルを引き抜きます。
-
-
-
-
-
iPhoneの上端に近い端から、ケーブルカバーを持ち上げる。
-
ロジックボードのEMIシールドに切り込まれたスロットからケーブルカバーのタブを引き抜き、iPhoneから取り外す。
-
-
-
-
-
ロジックボード上部付近にある5本のケーブルを、以下の順序で取り外します:
-
ヘッドフォンジャック/音量ボタンケーブル
-
電源ボタンケーブル
-
フロントカメラケーブル
-
デジタイザーケーブル
-
ディスプレイケーブル
-
ケーブルを取り外す際は、オープニングツールの先端を使ってコネクタを優しく持ち上げ、ロジックボードのソケットから引き抜きます。
-
-
この手順で使用する道具:Standoff Screwdriver for iPhones$5.49
-
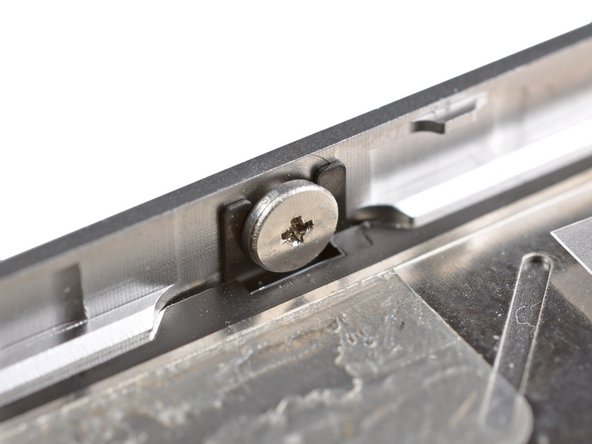
電源ボタン近くのロジックボードを固定している2.5 mmプラスネジ(#000)を取り外します。
-
ヘッドフォンジャック近くの4.8 mmスタンドオフネジを取り外します。
-
-
-
バイブレーター付近にある3.4 mmのプラスネジを外します。
-
バッテリー開口部に最も近いロジックボードの側面に沿って、2本の3.6 mmスタンドオフネジを外します。
-
-
-
-
-
-
プラスチック製オープニングツールの先端を使い、ディスプレイアセンブリの周囲を慎重に上にこじ開けます。
-
スチール製の内部フレームを通っているデジタイザーケーブルとLCDケーブルを外します。
-
フロントパネルアセンブリが正しく取り付けられていれば、2枚目の写真のように、LCDケーブルとデジタイザーケーブルは互いに隣接し、同じ長さになっているはずです。
-
再組み立ての際、LCDデータケーブルの基部にある金属部分には触れないでください。触れるとLCDに問題が発生する可能性があります。誤って触れてしまった場合は、作業を続ける前にアルコールワイプで優しく清掃してください。
-
-
-
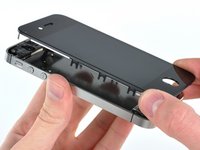
iPhoneからディスプレイアセンブリを取り外す。
-
交換部品の購入先によっては、イヤーピースグリルとフロントカメラ周囲の透明なプラスチックリングを、元の破損したアセンブリから再利用する必要がある。
-
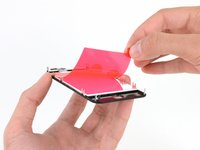
交換用ディスプレイのLCDの背面に、色付きの保護フィルムが貼られている場合がある。その場合は、ホームボタン付近のプルタブを使用して、iPhoneに新しいディスプレイを取り付ける前に、LCDから保護フィルムを剥がすこと。
-
再組み立て後の注意点:
-
iPhoneの電源を入れる前に、タッチスクリーン表面をアルコールワイプで清掃する。アルコールによって残留静電気が除去され、ディスプレイの不具合を防ぐことができる。
-
-
-
この手順で使用する道具:Tweezers$4.99
-
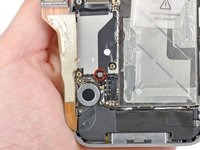
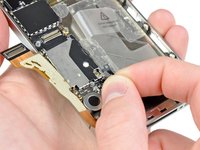
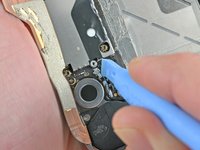
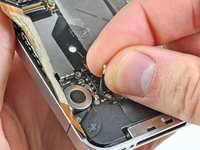
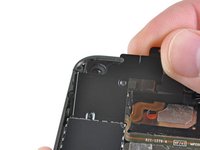
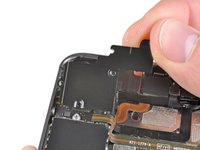
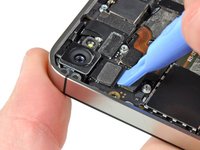
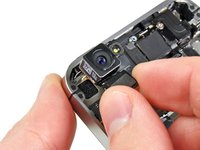
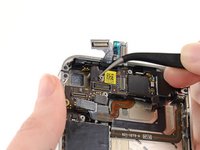
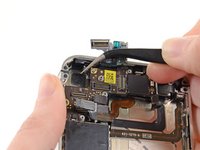
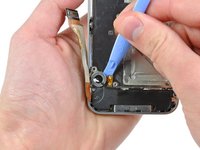
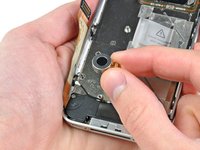
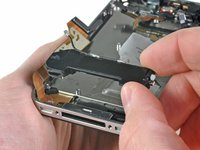
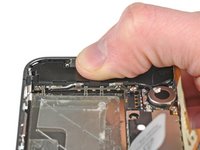
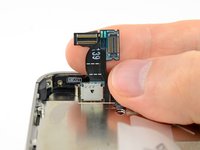
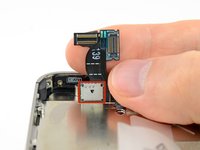
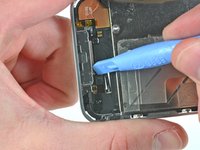
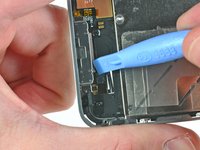
Use a pair of tweezers to pull the home button cable out of its socket.
-

 FixBotに聞いてみる


























デバイスを再組み立てするには、これらのインストラクションを逆の順番に従って作業を進めてください。
129 の人々がこのガイドを完成させました。


3件のガイドコメント
How can a company that prides itself on simplicity and elegance make something so needlessly unserviceable? I don't mind the small screws, even if I wonder how many of them really need to be there... but the fragile cables, little black spacers, the pentalobe screws and the glue - oh the inhumanity of the glue! The only thing that makes me happy is, now that Tim Cook's decided that they're going to service these things in-store, the thought of Apple employees sending an earful of expletives up the management chain.
Small and fragile = lite weight. And all of those spacers and glue is to keep everything in place and prevent those small and fragile parts from breaking as you use the phone. If you want a tiny, lite phone there are compromises. And Apple's mantra has never been serviceability. It's about getting you to upgrade to the new cool thing every 1-2 years, way before the phone would normally need servicing. And the Apple store really only services new batteries and screens. For pretty much everything else they just give you a new phone.
is there a way to remove the button without replacing the cable?
