はじめに
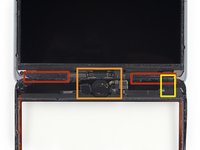
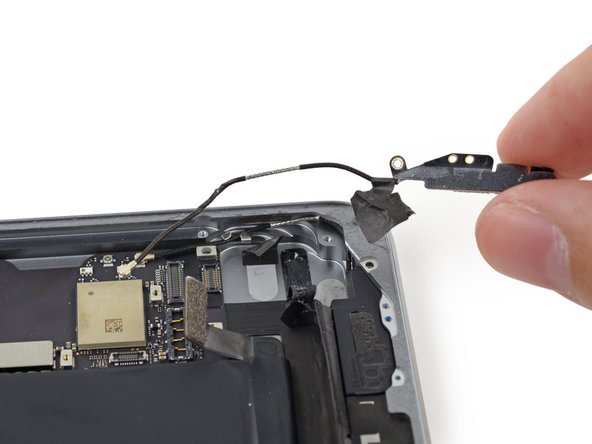
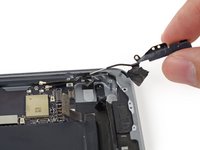
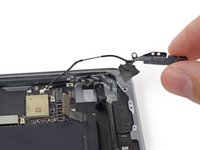
このガイドを参照して、お持ちのiPad Mini 2 Wi-Fiの右側アンテナであるGPSアンテナを交換しましょう。
必要な工具と部品
-
-
鍋を十分な量のお湯で満たして、iOpener を完全に沈めます。
-
お湯を沸かして熱くなったら火を止めます。
-
iOpenerを熱湯の中に約2−3分間沈めます。iOpener全体が完全に浸かっているか確認してください。
-
トングなどを浸かって、温まったiOpenerをお湯から取り出します。
-
タオルでiOpener全体を拭き取ります。
-
iOpenerの準備は整いました。iOpenerを再度温める必要がある場合は、お湯を沸騰させて、火を止めてからiOpenerを2-3分間浸してください。
-
-
-
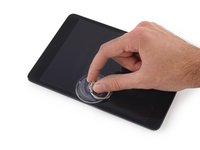
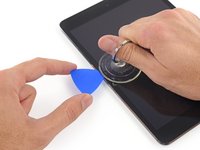
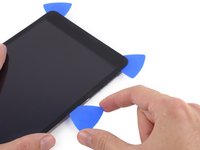
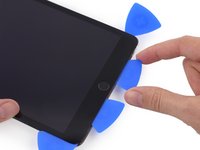
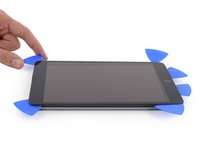
ディスプレイガラスにひびが入っている場合は、ガラス表面にテープを貼り,修復中に怪我をしないように注意してください。
-
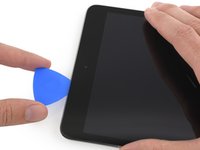
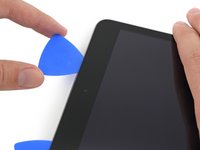
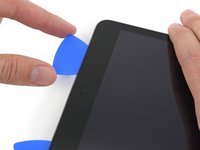
iPadのディスプレイの表面全体が覆われように、透明テープを重ね張りします。
-
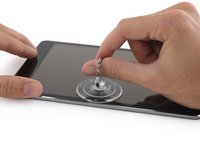
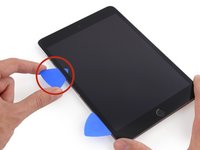
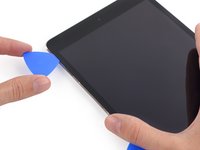
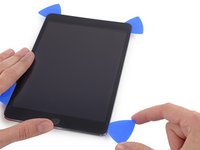
残りも手順通りに作業をしますが,ガラスが割れてしまうと,ひび割れが広がってしまいます。その場合,金属製のヘラなどを使用する必要があるかもしれません。
-
-
-
-
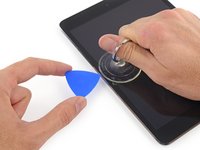
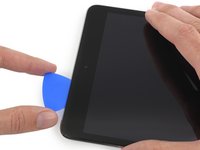
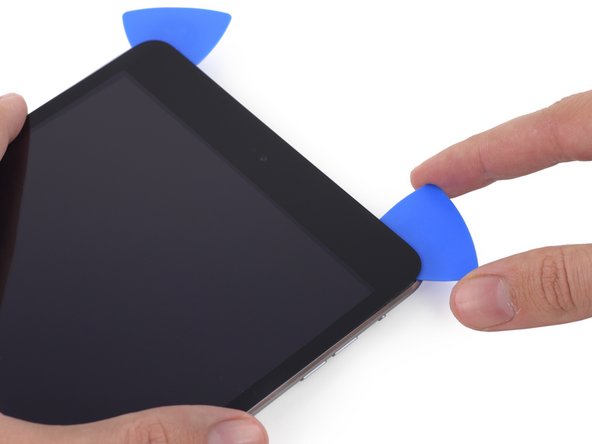
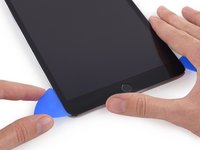
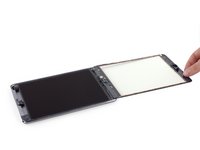
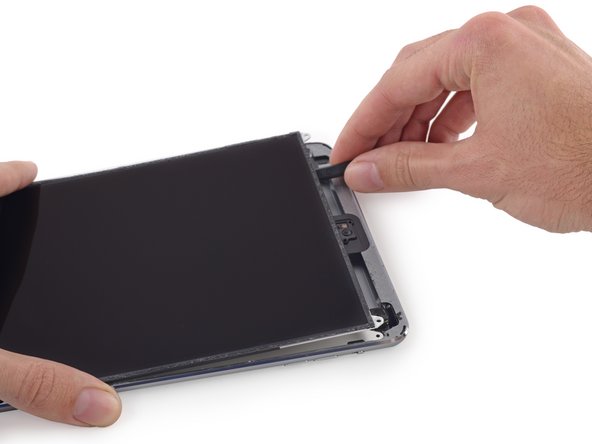
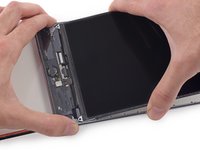
全ての接着がはがれたら、前面ガラスを本のページをめくるように開き作業台に置きます。
-
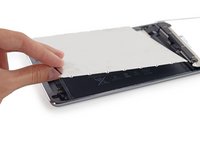
フロントパネルアセンブリを再利用して再組み立てする際は、ディスプレイ用の接着剤を交換してください。ディスプレイ用の接着剤塗布ガイドを参照して、デバイスに接着剤を再装着してから、本体を密封します。
-


デバイスを再度組み立てるには、この説明書の逆の順番で組み立ててください。
2 の人々がこのガイドを完成させました。


1件のガイドコメント
Thanks so much for your guide! I actually completed it. However, even though I changed out the antenna, my wi-fi and bluetooth still don't work. I think it's probably a wi-fi logic board issue. sigh.
One thing I would add to this guide or anyone attempting to complete it would be to wear gloves while handling the LCD and screen plate! I slightly touched the LCD and it was a pain trying to get my fingerprints off of it without smearing.
Also, steps 44-46 were a bit different on my iPad Mini 2 64GB version. Not sure why, but some things were different internally. So I kind of had to wing it and just use my own gut judgment that I was removing and adjusting the parts correctly. But after that I was fine.
Thanks for the guide. Since the logic board is $100 to replace, I just purchased a new iPad and am going to sell my broken one for parts.