この翻訳は、ソースガイドの最新の更新を反映していない可能性があります。 翻訳の更新に協力してください。 または ソースガイドを参照してください。
はじめに
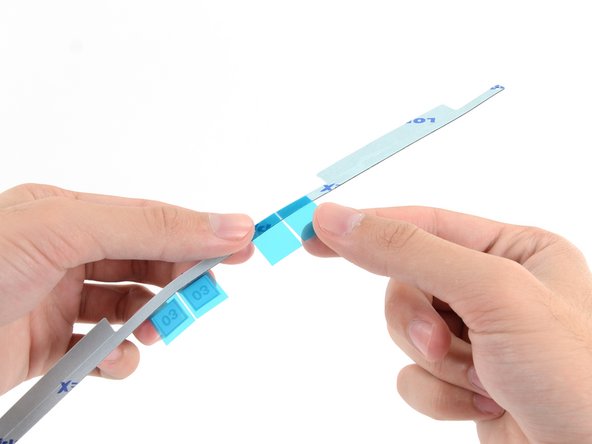
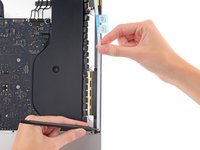
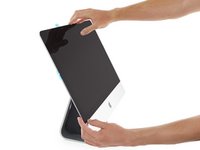
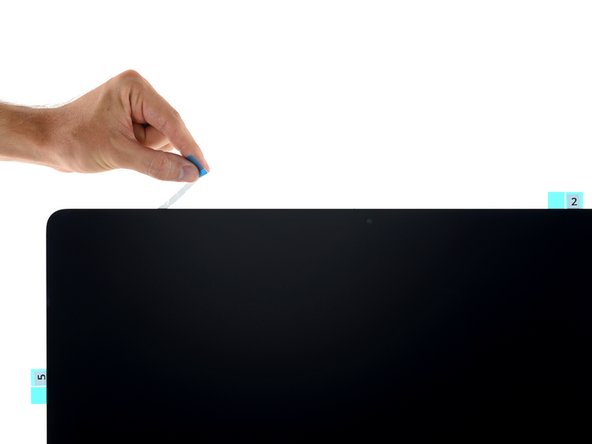
ディスプレイを外すには、スクリーン周辺の接着剤を切り離す必要があります。接着剤が切断した後、ディスプレイを再装着する際に再利用ができません。そのため、新しい接着ストリップに交換しなければなりません。
必要な工具と部品


38 の人々がこのガイドを完成させました。
以下の翻訳者の皆さんにお礼を申し上げます:
77%

Midori Doiさんは世界中で修理する私たちを助けてくれています! あなたも貢献してみませんか?
翻訳を始める ›


5 件のコメント
When I received the adhesive strip kit and pizza cutting tool, my initial thought was that it was overpriced. This turned out not to be the case, as the adhesive strips are cut perfectly and install with great predictability. The guide is an excellent step by step tutorial which, along with the pre-cut strips, enables a handyman to complete his first time repair with a professional outcome.
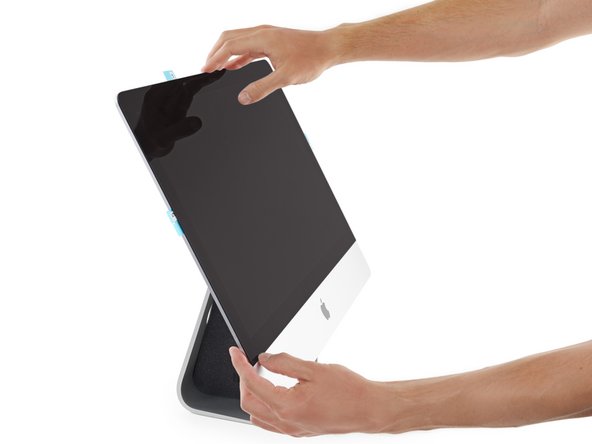
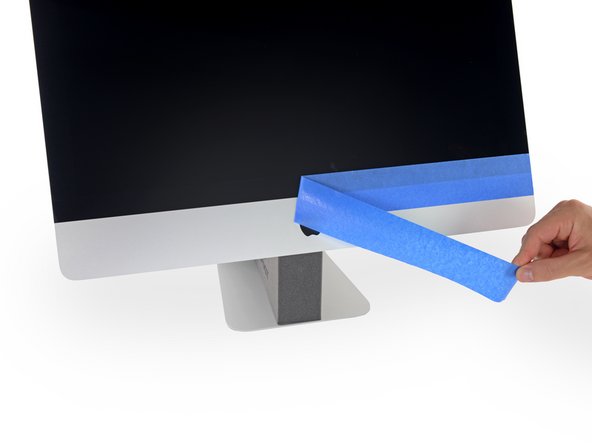
I did complete this process and turned out fine in the end but when I initially removed the blue tape there was about a 16th of an inch gap between the glass and bottom lip of the iMac case. When I had tilted the glass up using the tape like a hinge I guess the monitor either stretched the tape or something and when it had come down it landed in the wrong spot so be careful with the tape you use. I had not firmly pressed down the glass yet and I was able to separate the pieces and reattach the monitor in the right place. I did it without the tape and it wasn't very difficult although it did require a second person to hold a book along one side of the iMac so I was able to snug the glass against 2 sides (the book and the bottom lip of the iMac case) to get proper alignment. The guide and adhesive kit was indispensable. Thanks a ton.
Great kit and made a fine job of the repair. You would never know the case had been opened.
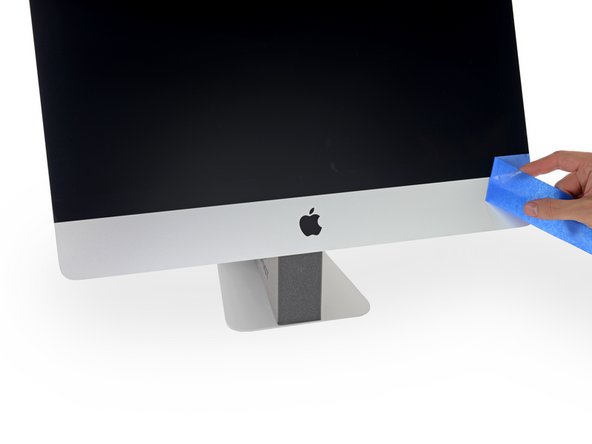
be careful not to stretch the stickers as you place them down, it’s easy to do if your not careful.
Same probem then jhweb522, : i strongly pressed to the screen to down before the last step in order to minimize this little gap, and the final result is quite good, but not perfect.
Joan Giral - 返信