はじめに
AirPort/Bluetoothカードの交換をするにはこのガイドをご利用ください。
必要な工具と部品
-
-
-
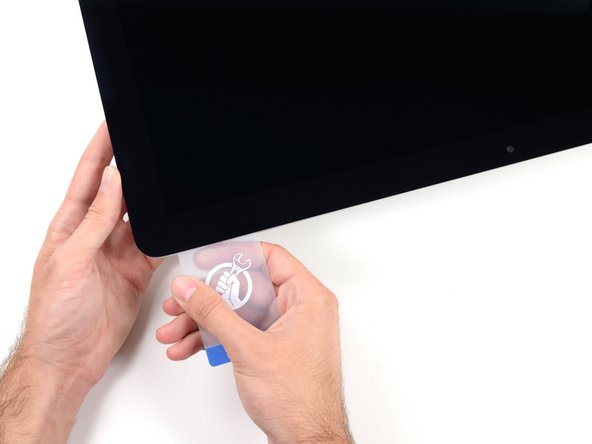
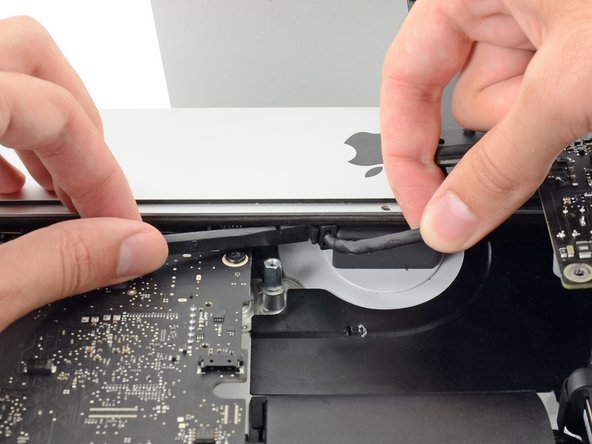
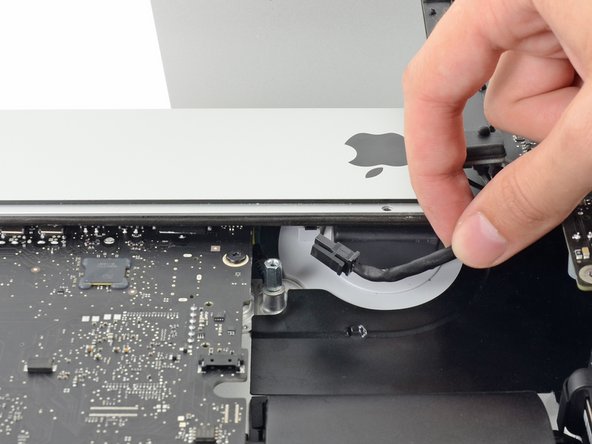
ディスプレイをフレームから持ち上げて、iMacから外します。
-
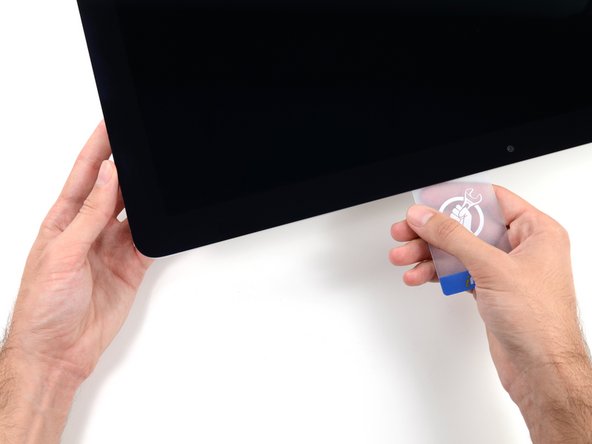
片一方をゆっくりと持ち上げて、接着剤を剥がしながら外してください。
-
再組み立ての際は、古い接着剤の残りを綺麗に拭き取り、接着ストリップの使用方法を参照してください。iMac Intel 21.5インチ EMC 2544 の接着ストリップの交換ガイドです。
-
-
-
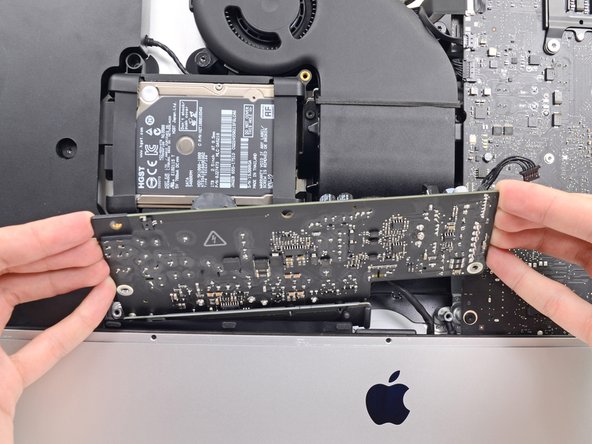
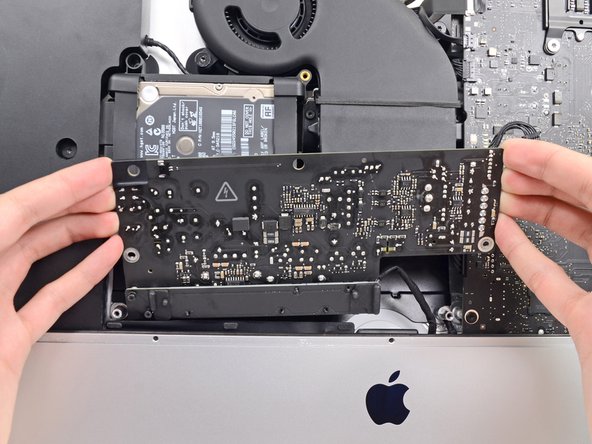
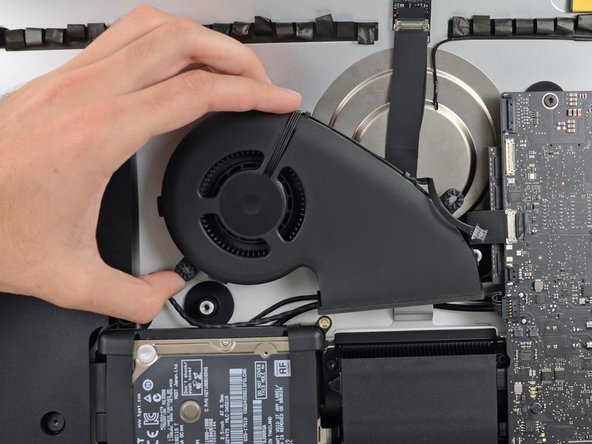
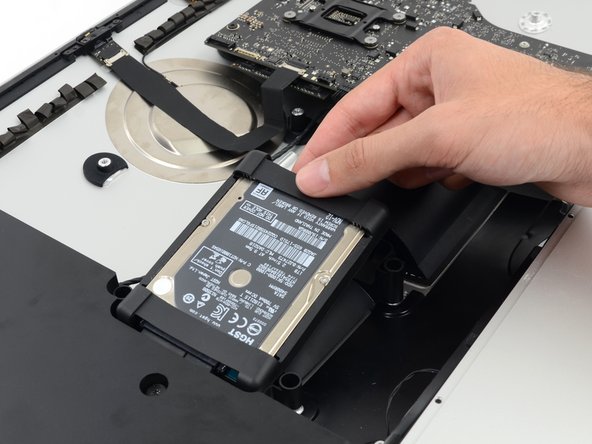
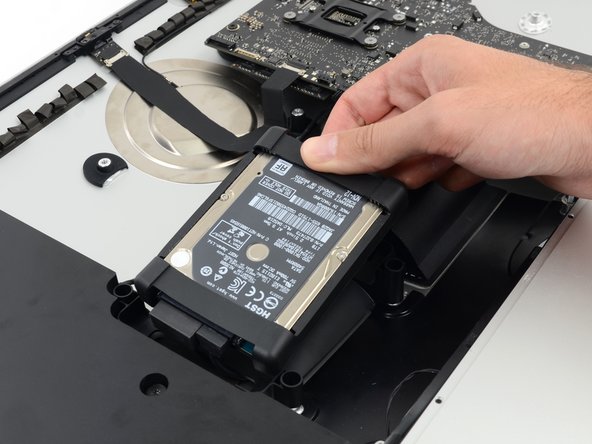
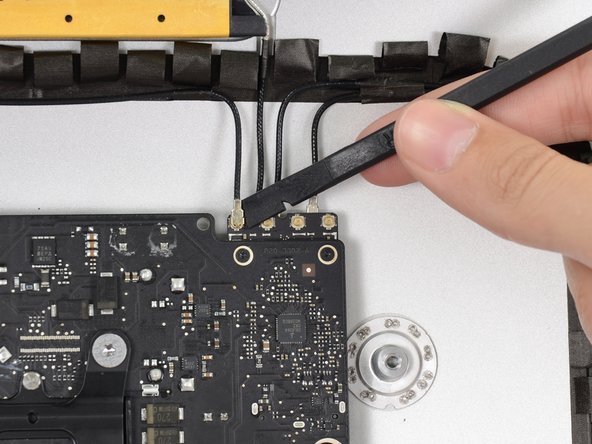
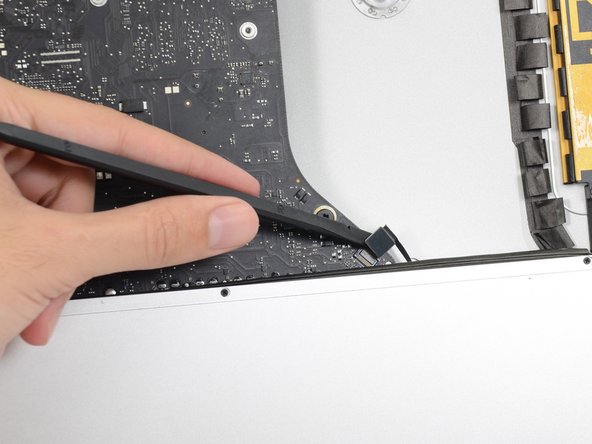
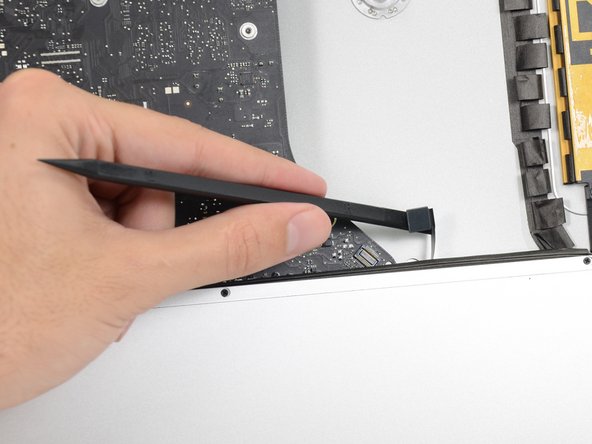
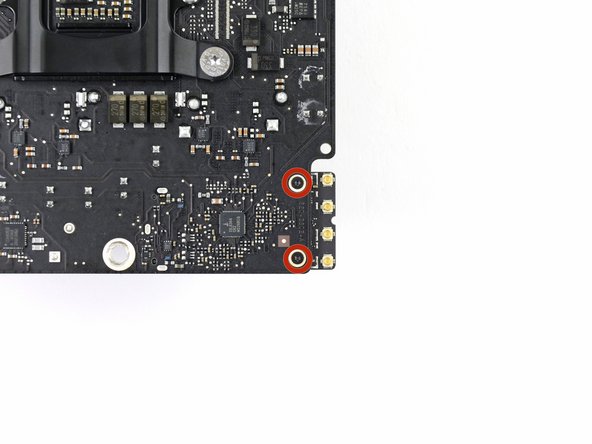
リア筐体にハードドライブブラケットを固定している次のネジを外します。
-
左側ハードドライブブラケットから21 mm T10トルクスネジー2本
-
9 mm T10トルクスネジー1本
-
27 mm T10 トルクスネジー1本
-


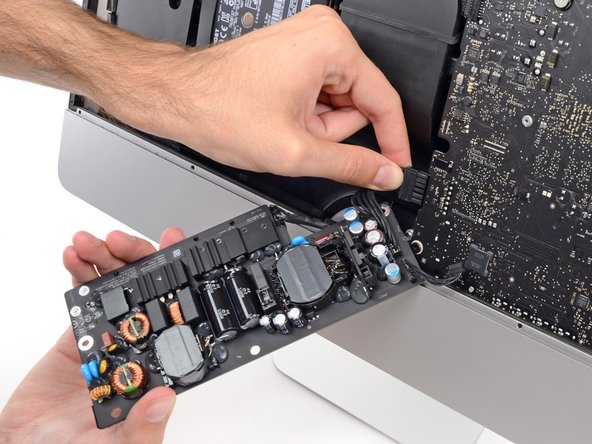


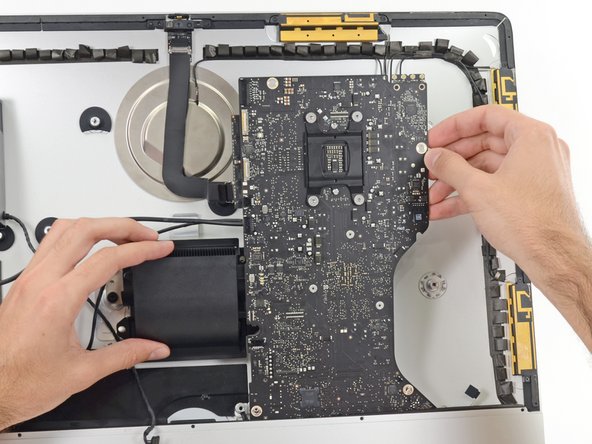

デバイスの再組み立てをする際は、これらのインストラクションを逆の順番に従って作業を進めてください。ディスプレイガラスを再装着する際は 接着ストリップの装着方法を参照してください。
デバイスの再組み立てをする際は、これらのインストラクションを逆の順番に従って作業を進めてください。ディスプレイガラスを再装着する際は 接着ストリップの装着方法を参照してください。
5 の人々がこのガイドを完成させました。
以下の翻訳者の皆さんにお礼を申し上げます:
100%

Midori Doiさんは世界中で修理する私たちを助けてくれています! あなたも貢献してみませんか?
翻訳を始める ›


3 件のコメント
I successfully upgraded the Wi-Fi Bluetooth card in my late 2012 iMac to 802.11ac following this guide! The new card is now the same as what´s in the new 2013 iMacs, I used the 2013 iMac teardown to find the right part:)
I just bought a new BT card (a >2013 version!) and it works!!!! Just some advise before you start: follow the instructions above including step 28. At this point unscrew the big sized mainboard screws. This allows some movement so you can pull back the motherboard if needed and will avoid straining it to much. you can nog pull out the Bluetooth card without dismantling the whole computer! Putting the new card back also works fine this way. This Saves you massive time!