はじめに
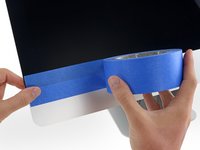
ディスプレイを外すにはスクリーン周辺に装着された接着剤を切り込む必要があります。接着剤をカットした後は、ディスプレイに再装着することができません。交換用の接着ストリップを準備してください。
必要な工具と部品
-
この手順で使用する道具:iMac Intel 27" Cardboard Service Wedge$4.99
-
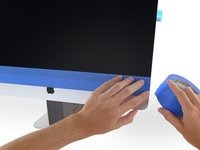
ヒンジは自由に動くため、iMacのバランスが取れにくく、作業が難しいです。iMacのサービスウェッジを配置すると、修理作業が安定した環境で行うことができます。
-
-
-
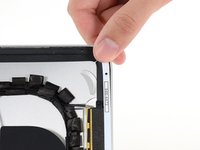
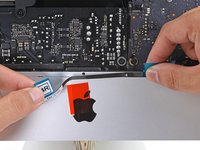
現在使用中のディスプレイを再利用する場合、ディスプレイ背面から古い接着剤を全て除去してください。
-
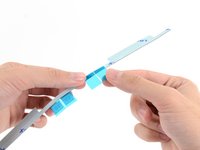
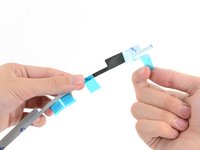
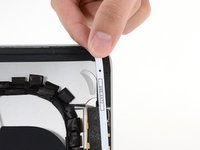
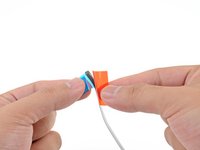
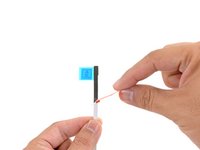
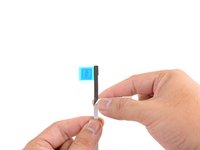
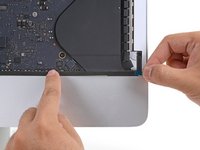
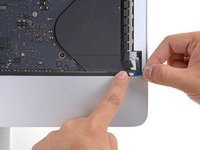
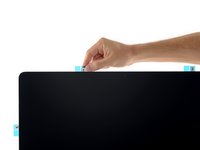
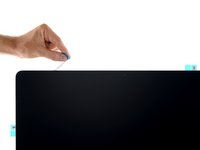
古い接着ストリップをピンセットもしくは指先で剥がします。ディスプレイ下側からデバイス上部側に、上向きに剥がします。
-
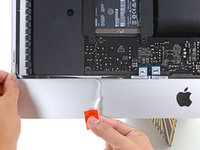
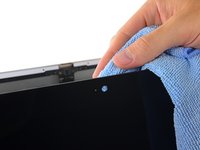
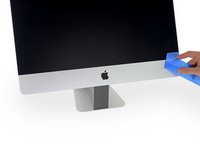
古い接着剤を全て除去したら、濃度90%以上のイソプロピルアルコールと糸くずの出ないマジックワイプなどの布で表面を慎重に拭き取ります。前後ではなく、一方向に向かってワイプします。
-
-
-
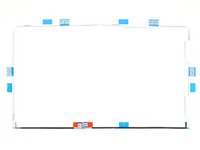
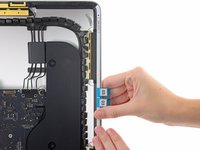
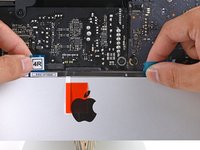
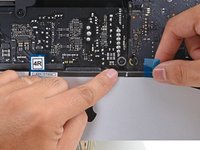
背面エンクロージャーの右側縦にあたるストリップ番号03から作業を始めます。
-
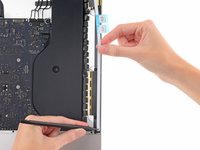
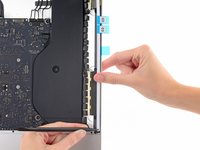
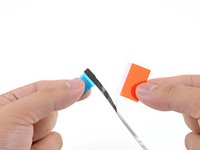
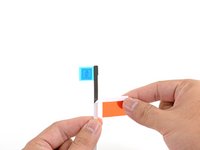
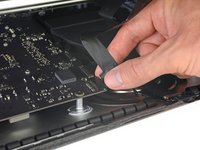
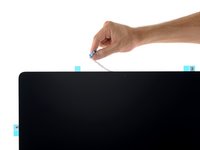
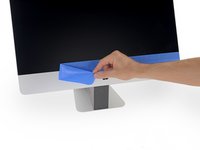
青いタブをつかみ、ストリップ裏側の短い裏張りを剥がして、エンクロージャーに装着する接着面を露出させます。
-
-
-
-
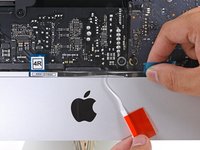
前と同じ方法、でさらに3つの接着ストリップを装着します。作業は、iMacの周囲を反時計回りに行います。
-
上部右にストリップ番号02
-
上部左にストリップ番号01
-
左側縦にストリップ番号05
-
-
-
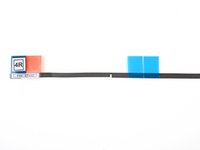
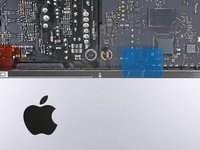
マイクロフォンホール上にマイクロフォンの突起を位置合わせして、下側端に沿って接着ストリップを揃えます。
-
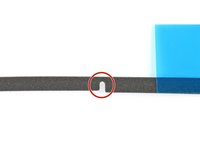
iMacにマイクロフォン用のホールがない場合、ストリップの右側端を揃えて、右側の垂直側の接着剤の真隣にL字コーナーがくるように配置してください。 L字型は、右側の垂直に留める接着ストリップと重ならないようにしてください。
-
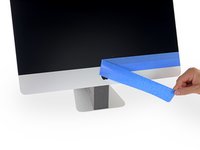
ストリップを位置合わせしたら、左の接着面が露出した端を慎重にiMacに揃えて固定します。
-
-
-
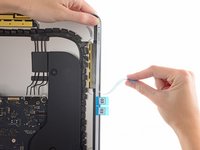
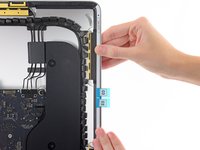
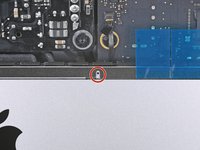
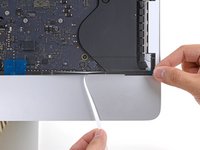
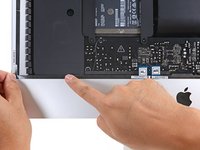
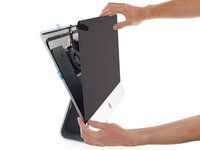
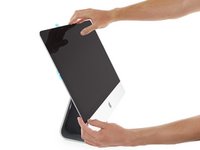
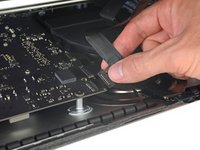
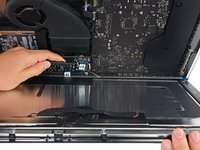
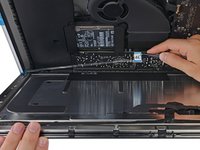
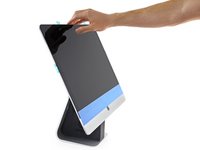
iMacの機能が正しく動いていることが確認できたら、ディスプレイケーブルの接続を外して、ディスプレイを慎重に前向きに傾けます。
-
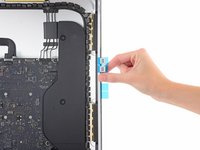
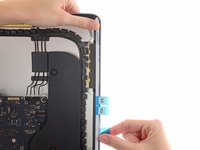
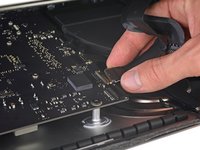
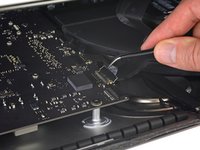
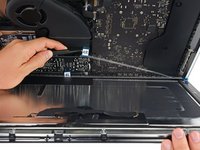
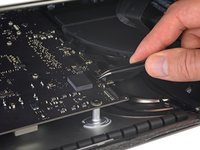
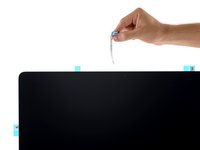
ピンセットで2つの下部ストリップの裏地を剥がします。ブルーのタブをディスプレイの下部端からまっすぐ上向きに引っ張ります。
-


317 の人々がこのガイドを完成させました。
以下の翻訳者の皆さんにお礼を申し上げます:
100%

Midori Doiさんは世界中で修理する私たちを助けてくれています! あなたも貢献してみませんか?
翻訳を始める ›


33件のガイドコメント
Good Lord, why does Apple have to make it so difficult to upgrade or repair? There comes a point where design aesthetic just isn't worth it. Magnets, like I believe older iMacs use to attach the front glass, would have made it much easier. I'll take the extra bulk any day.
Have you actually done the replacement? It's actually pretty easy. Apple did everything they could to make it as painless as possible: the old adhesive separates without *any* residue, it doesn't rip apart, it doesn't make a mess. Things align like magic.
True, it could be easier. Like with the old color iMac SD. But since I don't take my iMac apart every day, doing this once or maybe twice in my computer's lifetime is a small price to pay for a *really* slim and good looking device.
I had some issues with steps 21, 22 and 23 ... the tabs would rip off. After the third one I used the plastic card to gently create some space for the strip to escape.
Thank you for this fantastic guide, and all of the iFixit guides! Just finished this replacement using the iFixit Adhesive Strips/iMac Opener tool combo--everything worked very well, except that the iMac Opener tool did not particularly like the broken glass area of the display, which bent the plastic of the "pizza cutter" wheel a little.
.
One bit of helpful advice is to use extreme care when placing the replacement display back into the iMac. Make sure that you do not put the display back in at too great of an angle, or there will be a very noticeable gap at the bottom, between the display glass and the iMac frame. Adhesive strips are not forgiving, and rarely give multiple chances!