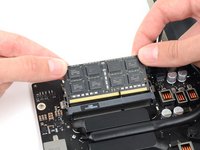
はじめに
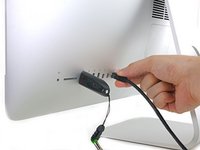
このガイドを参照して、RAMを交換しましょう。
必要な工具と部品
-
この手順で使用する道具:iMac Intel 21.5" Cardboard Service Wedge$4.99
-
iFixitの梱包用ボックスを使ってウェッジ用サポートを作ることができます。こちらから組み立てガイドを参照してください。
-
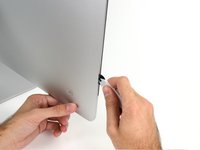
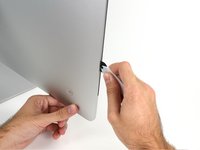
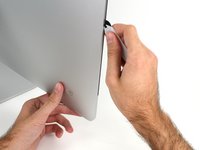
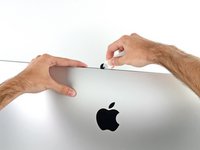
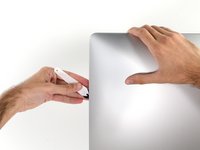
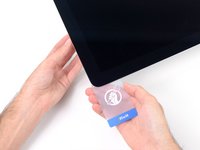
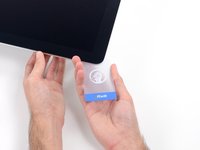
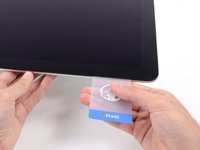
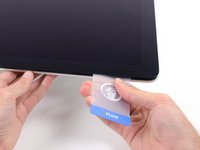
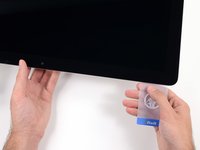
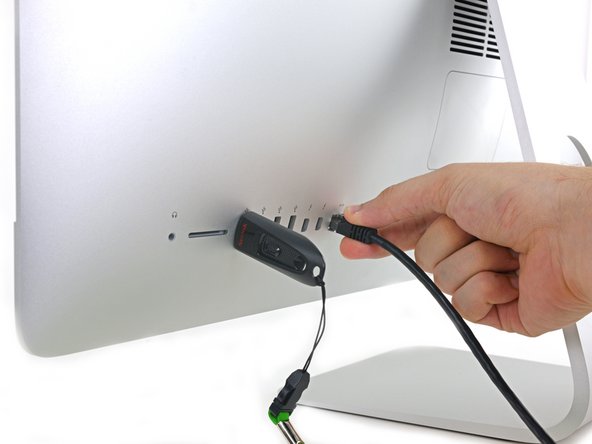
iMacの作業を始める前に、コンピューターの電源を外して電源のキャパシタを放電するため約10秒間電源を押し続けてください。
-
-
-
-
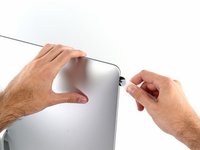
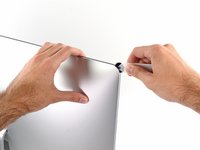
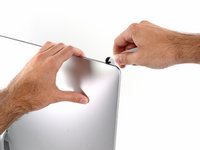
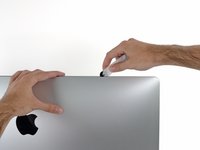
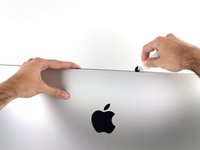
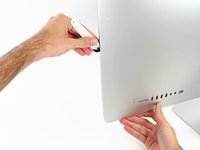
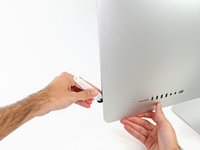
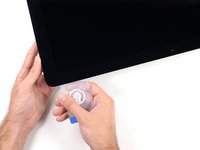
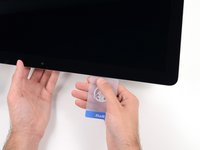
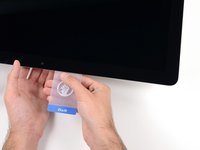
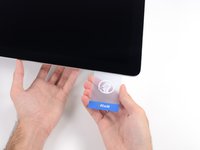
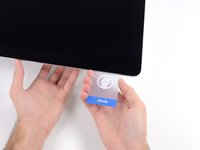
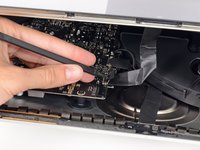
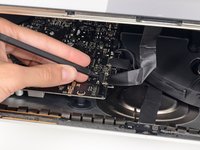
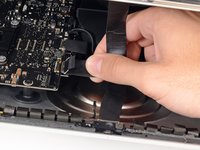
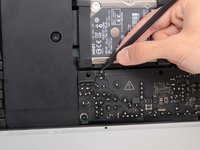
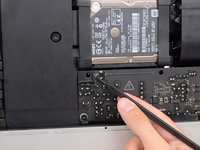
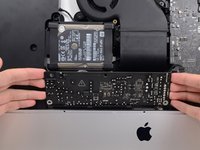
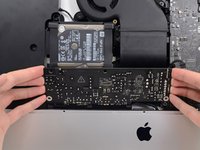
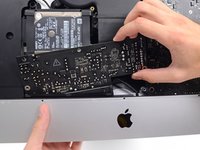
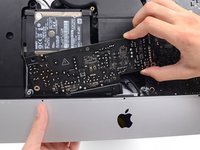
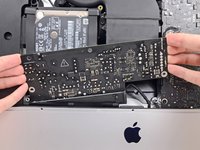
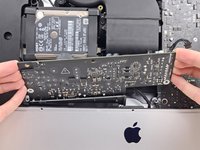
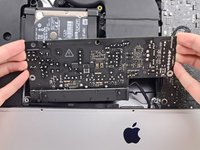
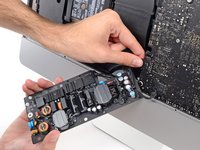
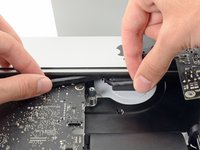
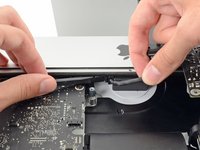
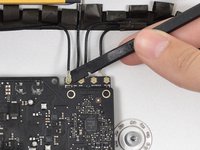
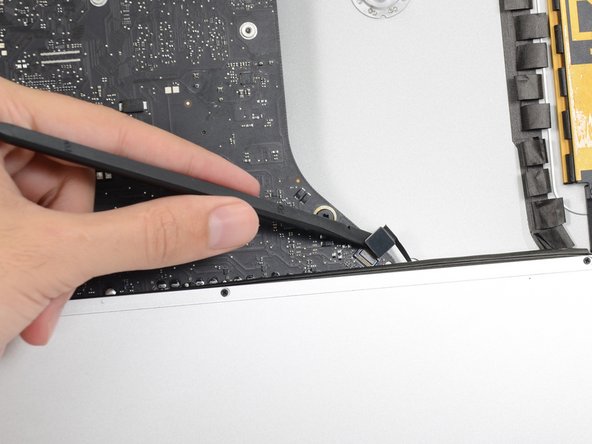
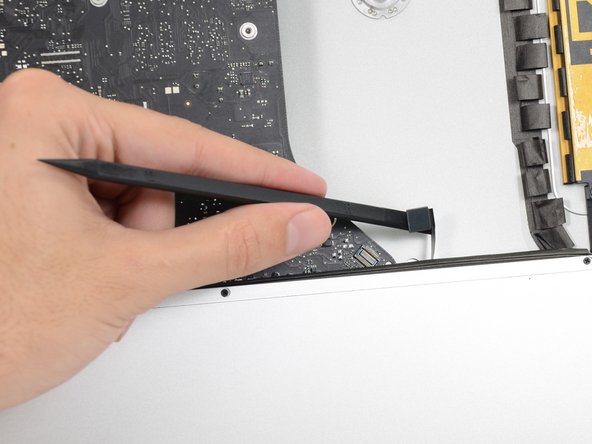
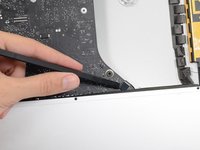
リア筐体にハードドライブブラケットを固定している次のネジを外します。
-
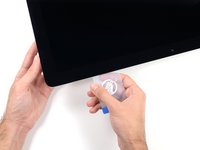
左側ハードドライブブラケットから21 mm T10トルクスネジー2本
-
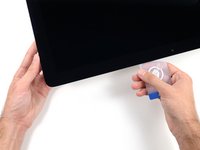
9 mm T10トルクスネジー1本
-
27 mm T10 トルクスネジー1本
-


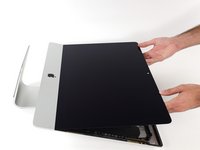


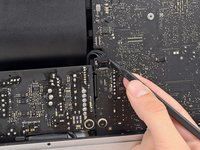
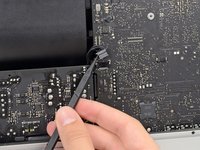


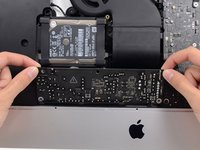


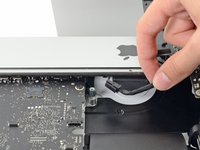


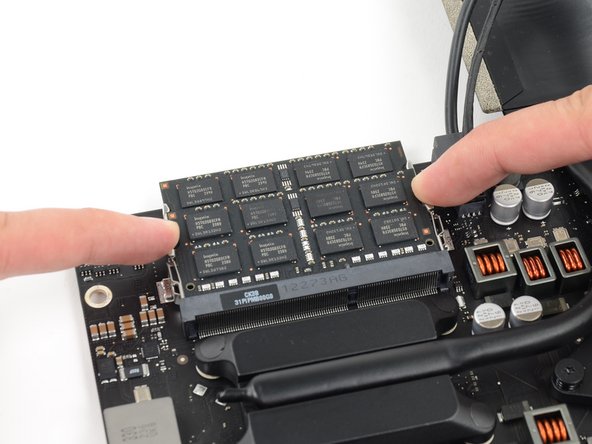

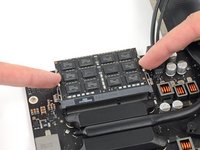
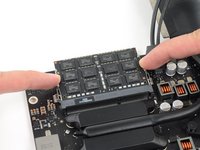
デバイスを再度組み立てるには、この説明書の逆の順番で組み立ててください。
167 の人々がこのガイドを完成させました。

43件のガイドコメント
Holy jesus - just to replace/upgrade some RAM? Wow. What advice do you have for the final stage of reassembly if you've had to take the strips of adhesive off - what (if anything) do you replace it with?
James Ward - 返信
James, in the parts section at the top you can purchase the adhesive strips that are a custom fit ([リンクされた製品が存在しない、もしくは無効: IF173-005]). I just replaced the hard drive and these strips are quite easy to work with. It's just a pain that you have to replace the adhesive anytime you need to go inside. Apple is getting lazy.
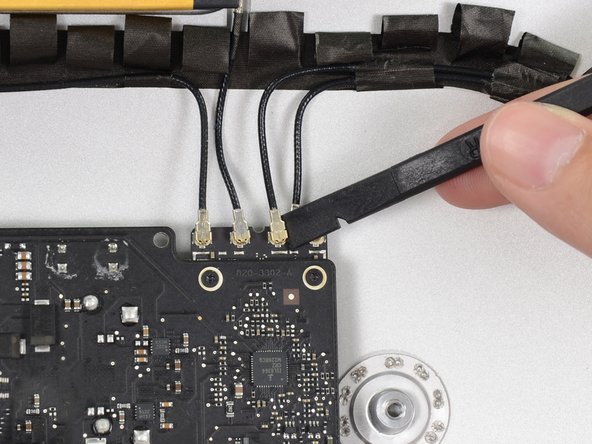
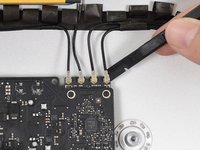
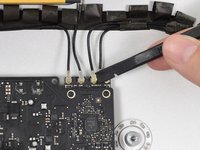
This was very easy to follow. The number of steps seem high, but half are just removing the display to make sure you are very careful with the fragile glass, so there are really only about 35 steps. You may also need to remove the right speaker before disconnecting the 4 AirPort/Bluetooth antennae, currently before step 50. The speaker is shown in earlier pics, then "disappears."
yes from what I went through it made sense to unscrew both speakers so you can move them a little bit to get things down like that and plugging the hard drive back in