このバージョンは誤った内容を含んでいる可能性があります。最新の承認済みスナップショットに切り替えてください。
必要な工具と部品
-
-
この手順は未翻訳です。 翻訳を手伝う。
-
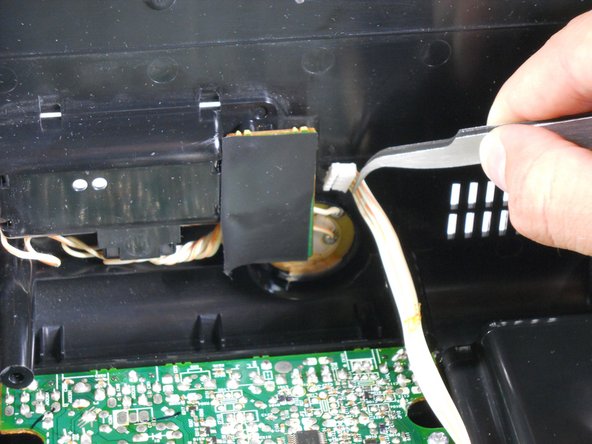
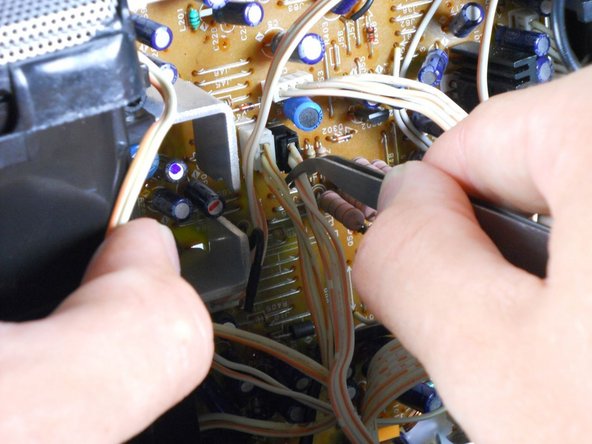
Turn the iHome 180 degrees so the speaker grille is facing you. Carefully lift the bottom case away from the rest of the body and tilt it as shown.
-
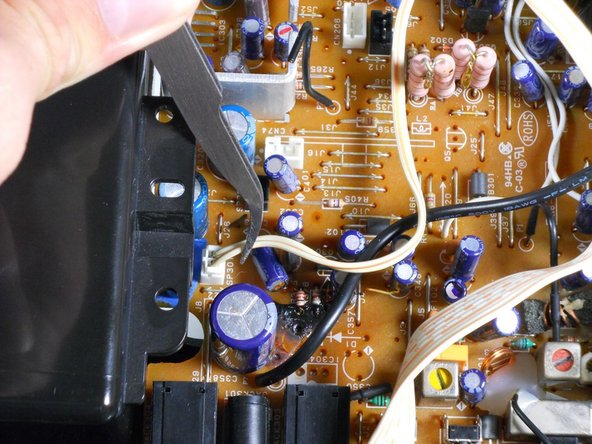
Using a pair of tweezers, detach the white ribbon cable. Make sure to pull on the ribbon, not on the head.
-
The lower case can now be completely removed from the device!
-
-
この手順は未翻訳です。 翻訳を手伝う。
-
Turn the iHome 180 degrees and carefully pull up on speaker cases to pry them loose from the bottom case.
-
Pulling outwards on the sides of the Upper Casing can help loosen the assembly.
-
If it seems too difficult to remove, chances are that a screw is still attached. Make sure you've removed every screw listed before proceeding to this step.
-
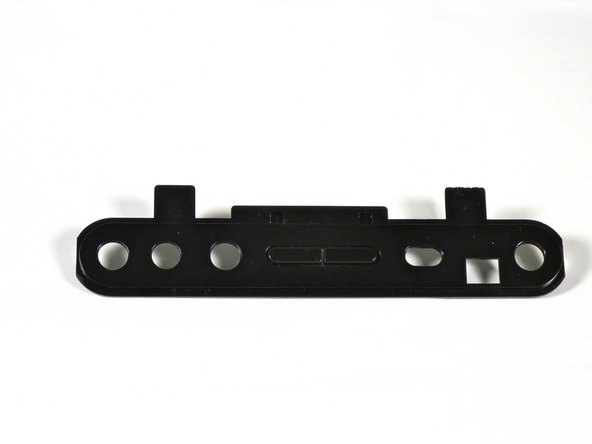
Pull the back adapter cover off.
-
-
この手順は未翻訳です。 翻訳を手伝う。
-
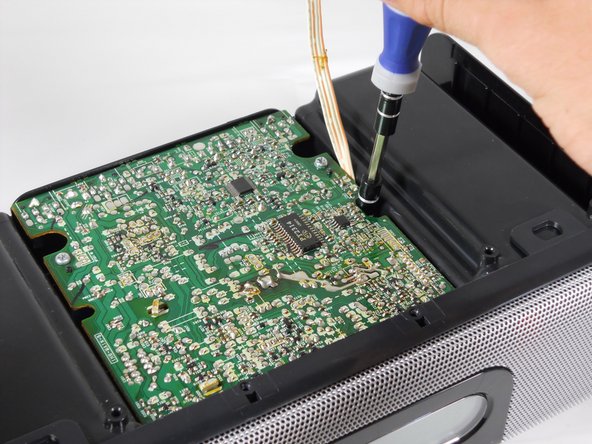
Remove the four 6.4 mm Phillips #1 screws holding the adapter to the outer case.
-
Two 6.4 mm Phillips #1 screws near the center of the adapter. These screws have built in washers.
-
One 4.0 mm Phillips #1 screw near the center of the adapter.
-
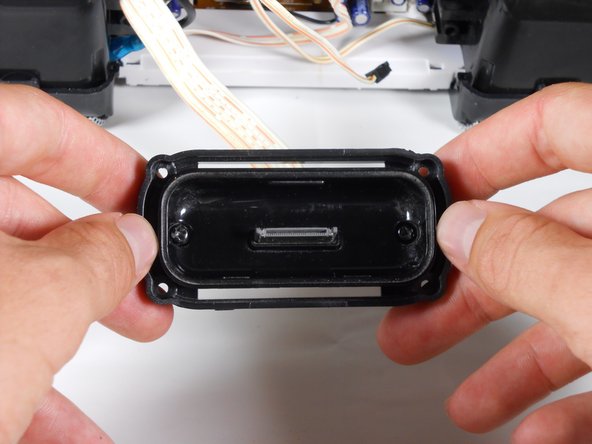
The iPod adapter should now be separate from the upper casing.
-


チーム

Cal Poly, Team 12-33, Amido Spring 2013 Cal Poly, Team 12-33, Amido Spring 2013人のメンバー
CPSU-AMIDO-S13S12G33
4 メンバー
7のガイドは作成済み