メインコンテンツにスキップ

Dell Chromebook 13-7310 Web Camera Replacement

英語
日本語

手順 3を翻訳中

手順3
Dell Chromebook 13-7310 Web Camera Replacement: 手順 0、 2の画像 1 Dell Chromebook 13-7310 Web Camera Replacement: 手順 0、 2の画像 2
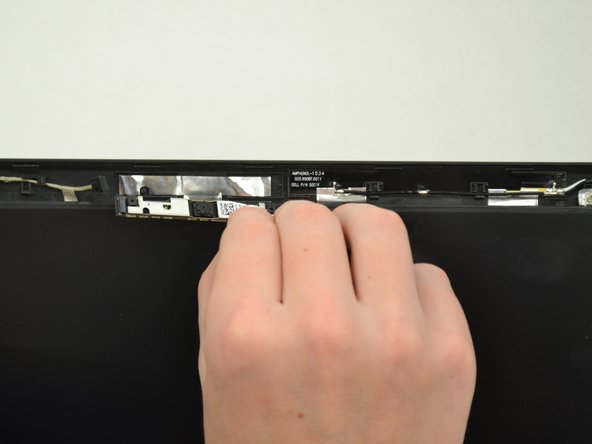
  • Once you have disconnected the camera, use the small nylon pry bar to dislodge the camera assembly from the computer housing.

  • CAUTION The camera assembly is held very securely to an thin alloy backing plate. Pry slowly and gently as to not damage the backing plate when removing.

  • After the camera assembly is free from the backing plate, remove it from the housing bay hand.

ここに翻訳を挿入する

ここに翻訳を挿入する

ここに翻訳を挿入する

クリエイティブコモンズのオープンソース著作権のもと、あなたの投稿は著作権の対象となります