手順 12を翻訳中


-
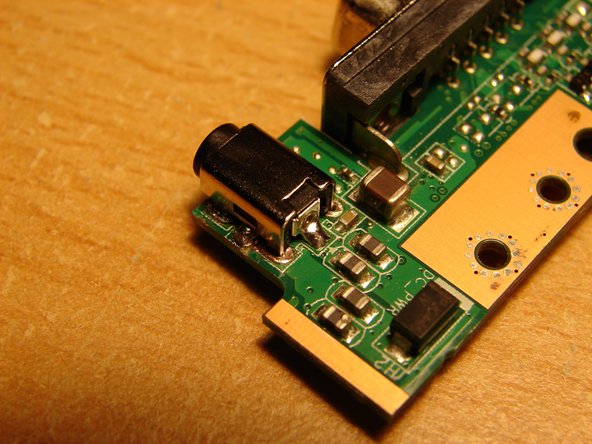
Congrats! You have successfully removed the old charging plug. Now, put some new solder onto the cleaned solder joints - but just a bit, not too much! Pay attention that the openings of each solder joint of the charging plug remain open!
-
The moment has come to put in the new charging plug. One very important advice before you start soldering: Start soldering on the top side of the PCB, not on the bottom side! This is critical since the two middle pins of the new charging plug need to be soldered first, including the pin on the back side of the charging plug.
-
Now push the new charging plug into the openings (again: on topside of the PCB!). Next, decide, which middle pin you want to solder first (right or left?).
-
Gently push either the right or the left side of the charging plug down with a wooden part (since the metal part of the charging unit gets really hot!) while you are soldering this pin (this is why we prepared the solder joints with a bit of new solder). Do the same with the other middle pin and finally with the pin on the back side.
-
Now take care of the legs of the charging plug on top of the PCB. Give all solder joints a final touch before you finally turn the PCB and finish the soldering job there by soldering the four solder joints. Job done!!
クリエイティブコモンズのオープンソース著作権のもと、あなたの投稿は著作権の対象となります。