手順 11を翻訳中


-
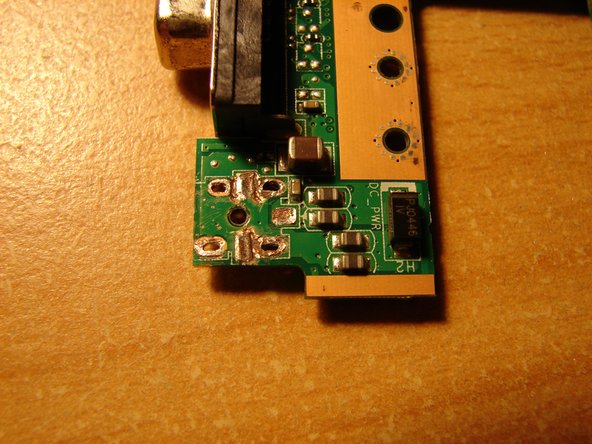
Use a soldering iron or soldering station to unsolder the broken charging plug.
-
Keep in mind that the solder used by ASUS is industrial solder. Therefore, it needs a soldering iron or soldering station of at least 40 W. A mini soldering iron with 15 W will not do!
-
In case you do not have such a powerful soldering station or soldering iron, you can use a mini drill to mechanically remove the charging plug one piece at a time. This takes time, but when done successfully, you can then unsolder what is left of the charging plug, for example the legs on the PCB.
-
Again: Take your time with the unsoldering process. Also, don't put too much physical pressure on the PCB area around the charging plug. The PCB could break at that place when pushed too much.
-
One important tip: Use desoldering wick while unsoldering the charging plug. The wick will soak in melted solder. When the broken charging unit is successfully removed, use desoldering wick again to clean all solder joints of the pins of the charging plug on the PCB.
クリエイティブコモンズのオープンソース著作権のもと、あなたの投稿は著作権の対象となります。