メインコンテンツにスキップ

Google Pixel Daughterboard Replacement

英語
日本語

手順 6を翻訳中

手順6
Google Pixel Daughterboard Replacement: 手順 0、 3の画像 1 Google Pixel Daughterboard Replacement: 手順 0、 3の画像 2 Google Pixel Daughterboard Replacement: 手順 0、 3の画像 3
  • Optionally, you can pause here to remove the interconnect cable from the motherboard to keep it out of the way during the rest of the daughterboard removal process.

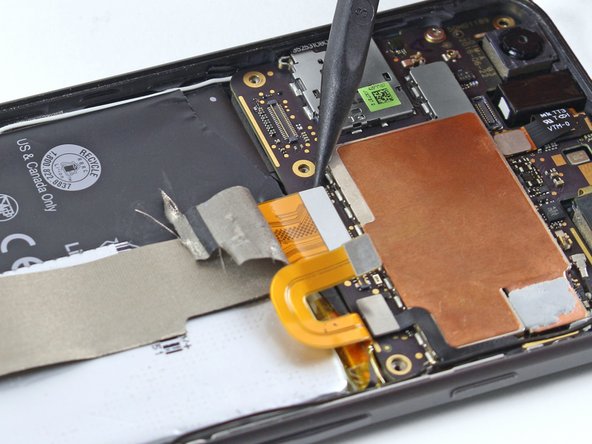
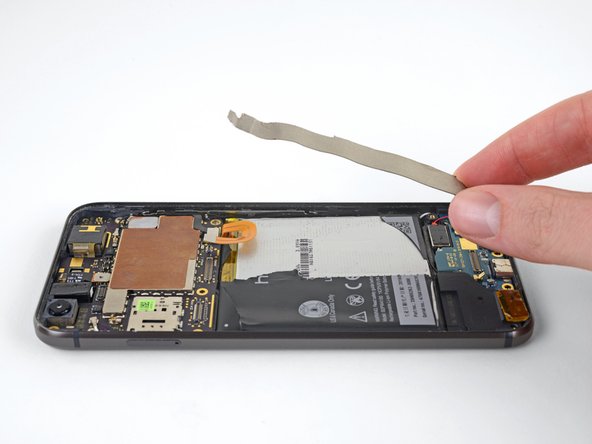
  • To do so, peel back the sticker on the motherboard side and use a spudger to lift the connector straight up.

  • If you choose to remove this interconnect cable, ensure that it is reinstalled in the same orientation. The phone will not power on if the cable is installed upside down.

ここに翻訳を挿入する

ここに翻訳を挿入する

ここに翻訳を挿入する

クリエイティブコモンズのオープンソース著作権のもと、あなたの投稿は著作権の対象となります