メインコンテンツにスキップ

Nokia Classic 2600c-2b Motherboard Replacement

英語
日本語

手順 7を翻訳中

手順7
Nokia Classic 2600c-2b Motherboard Replacement: 手順 0、 2の画像 1 Nokia Classic 2600c-2b Motherboard Replacement: 手順 0、 2の画像 2
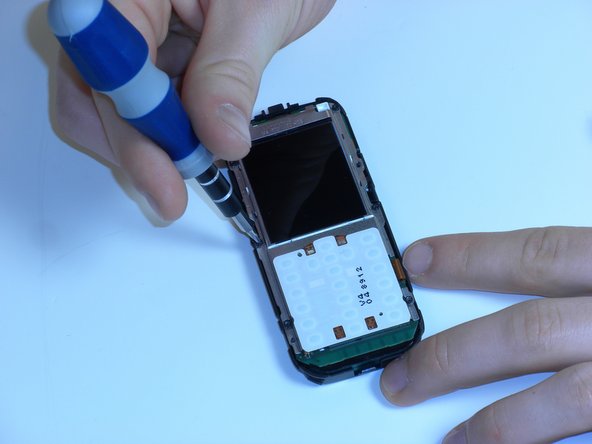
  • Locate the six screws positions along the edges of the motherboard.

  • Unscrew the six screws using the Torx 5 screwdriver (see Introduction for description of a Torx 5 screwdriver).

  • CAUTION! Place the screws in a secure location.

ここに翻訳を挿入する

ここに翻訳を挿入する

ここに翻訳を挿入する

クリエイティブコモンズのオープンソース著作権のもと、あなたの投稿は著作権の対象となります