注意:あなたは必要条件ガイドを編集しています。あなたが行なう変更は、この手順を含む全ての4個のガイドに反映されます。
手順 10を翻訳中
手順10


-
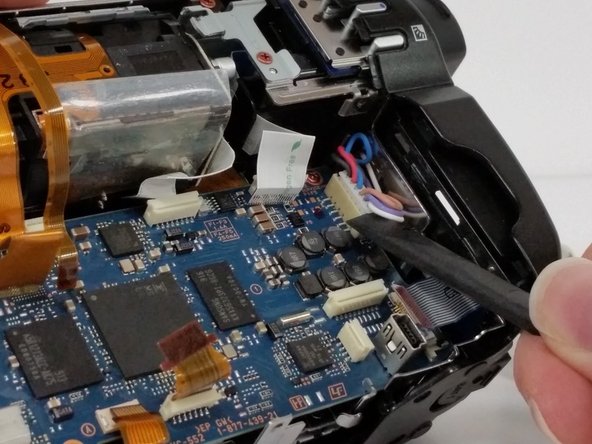
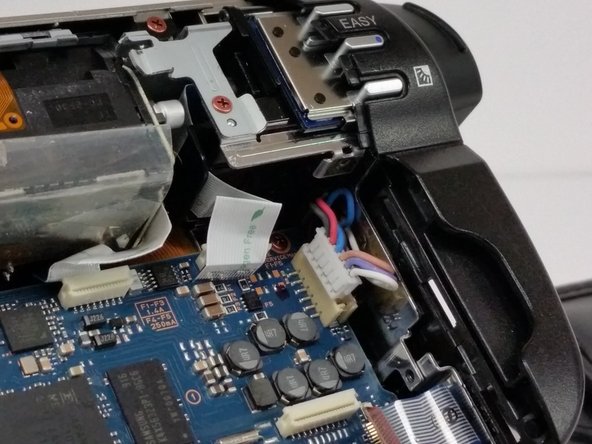
Locate all of the cables attached to the motherboard.
-
Carefully disconnect all cables.
-
There are four orange no-fuss ribbon connectors. To disconnect these cables pull up on the tabs protruding from both sides of the cable rather than pulling on the cable itself.
-
There are two white no-fuss ribbon cable connectors. To disconnect these cables, pull them straight out of the connector.
-
In the lower corner on the far right, disconnect the Zero-Insertion Force (ZIF) connector by flipping up the small black bar before removing the cable.
クリエイティブコモンズのオープンソース著作権のもと、あなたの投稿は著作権の対象となります。