ご注意:あなたは前提となるガイドを編集しています。あなたが行なう変更は、この手順を含むガイド全体に反映されます。
手順 3を翻訳中
手順3


-
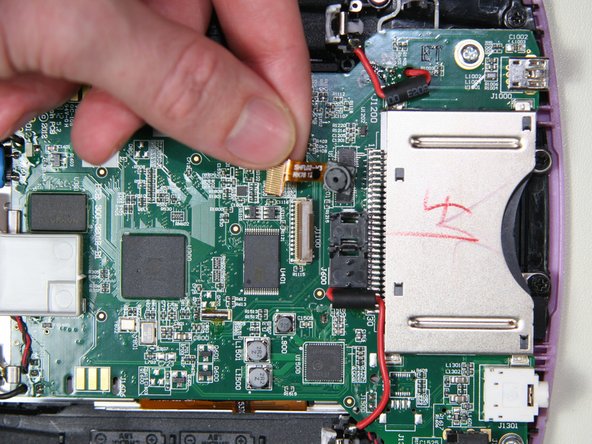
Lift the camera body out of the plastic frame by using two small plastic opening tools as follows:
-
Place one opening tool directly under the base of the camera ribbon cable and camera body, applying upward pressure.
-
At the same time, use the other tool to release one of the clips on the left or the right of the camera body.
クリエイティブコモンズのオープンソース著作権のもと、あなたの投稿は著作権の対象となります。