メインコンテンツにスキップ

HP Pavilion p6 Hard Drive Replacement

英語
日本語

手順 3を翻訳中

手順3
HP Pavilion p6 Hard Drive Replacement: 手順 0、 3の画像 1 HP Pavilion p6 Hard Drive Replacement: 手順 0、 3の画像 2 HP Pavilion p6 Hard Drive Replacement: 手順 0、 3の画像 3
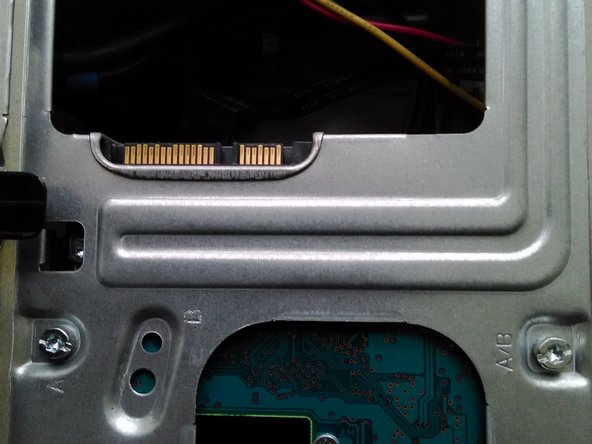
  • Firstly the power and Sata cables should be disconected - they can be removed by just pulling them straight back.

  • After this is done it should look like the second picture.

  • Lastly four screws need to be removed that secure the Hard Drive to the case.

  • Extreme care should be take here as the Hard Drive should be supported when loosening off the last screw. Be careful not to press on the casing and only hold it by the edges.

ここに翻訳を挿入する

ここに翻訳を挿入する

ここに翻訳を挿入する

ここに翻訳を挿入する

クリエイティブコモンズのオープンソース著作権のもと、あなたの投稿は著作権の対象となります