メインコンテンツにスキップ

Dell XPS M1530 CPU Replacement

手順 2を翻訳中

英語
日本語
手順2
Dell XPS M1530 CPU Replacement: 手順 0、 3の画像 1 Dell XPS M1530 CPU Replacement: 手順 0、 3の画像 2 Dell XPS M1530 CPU Replacement: 手順 0、 3の画像 3
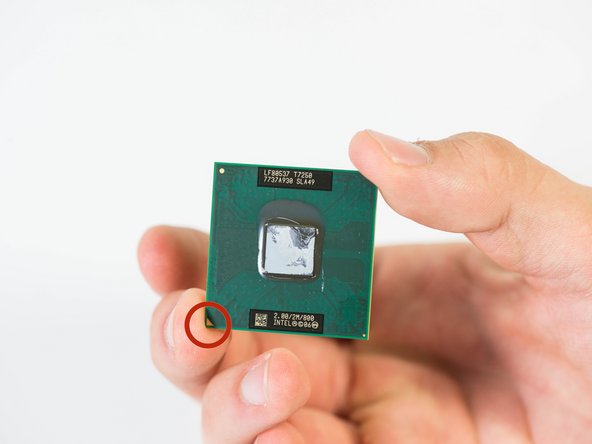
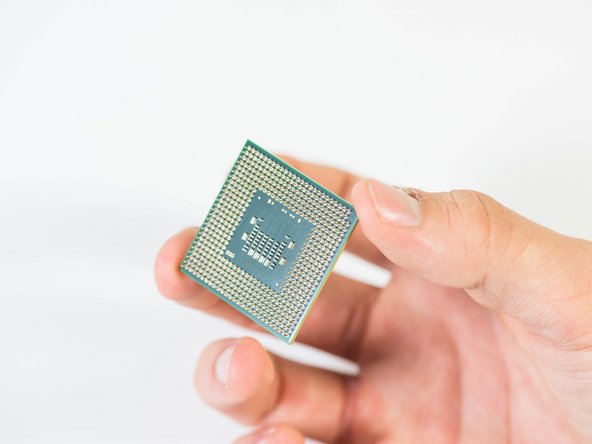
  • Carefully remove the CPU by pulling it straight up.

  • CPU Orientation triangle

  • Make sure you pull straight up on the CPU when removing it. Also be careful not to touch the pins on the CPU as they are thin and will bend very easily.

  • The orientation of the CPU is important, locate the corners that has a small triangle. Make sure to match that triangle corner to the upper right corner of the mount that also has a picture of a triangle.

ここに翻訳を挿入する

ここに翻訳を挿入する

ここに翻訳を挿入する

ここに翻訳を挿入する

クリエイティブコモンズのオープンソース著作権のもと、あなたの投稿は著作権の対象となります