手順 3を翻訳中
手順3

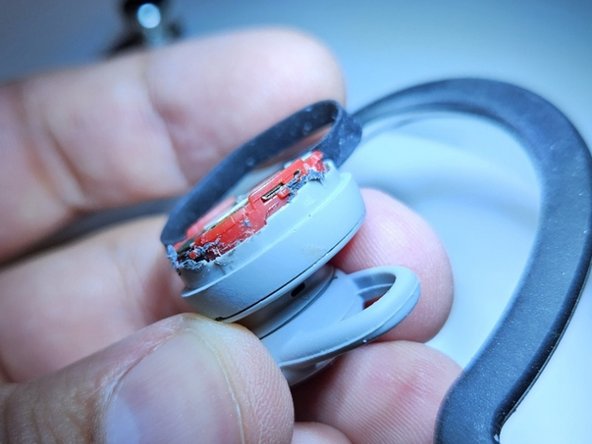


Button Cover Removal
-
Carefully separate the glue from the tangs holding the button cover to the battery assembly and outter housing.
-
There are four tangs in total, three are easy to access with the gasket out of the way.
-
I used an exacto knife, but becareful to not cut any wires coming down from the ear loop, or destroying any of the detents which hold the button cover in place.
-
Take your time, the attachment to the battery housing is much stronger than the strength of the plastic cover.
クリエイティブコモンズのオープンソース著作権のもと、あなたの投稿は著作権の対象となります。