メインコンテンツにスキップ

Logitech G603 Switch Replacement

手順 9を翻訳中

英語
日本語
手順9
Logitech G603 Switch Replacement: 手順 0、 3の画像 1 Logitech G603 Switch Replacement: 手順 0、 3の画像 2 Logitech G603 Switch Replacement: 手順 0、 3の画像 3
  • Because the mouse switch circuit board is connected to the side button circuit board, we will need to remove the screw guard that keeps it fastened to the mouse.

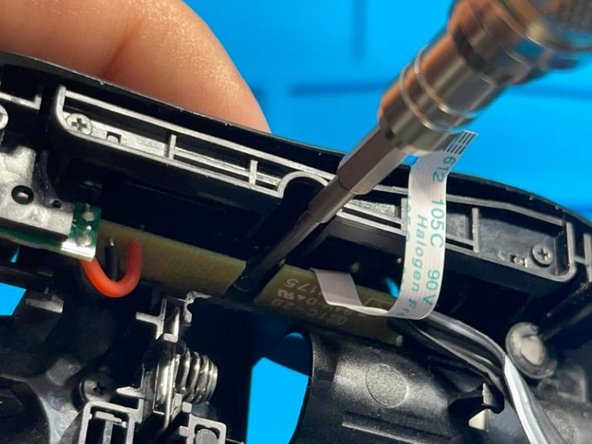
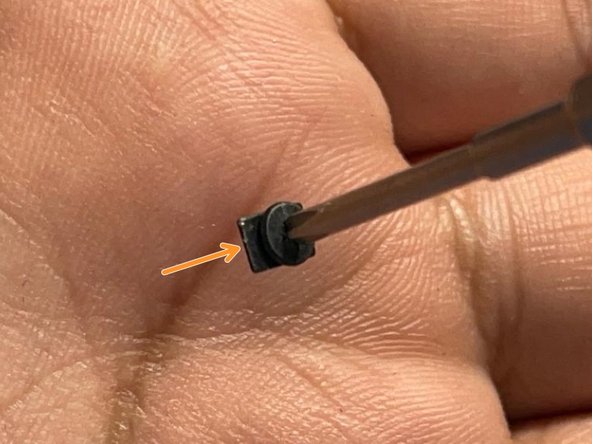
  • Locate the screw marked in the first photo. Remove it by using a Philips head screw driver and twisting in a counter-clockwise motion.

  • Make sure not to lose the guard underneath the head of the screw as it keeps the circuit board from falling out of place.

ここに翻訳を挿入する

ここに翻訳を挿入する

ここに翻訳を挿入する

クリエイティブコモンズのオープンソース著作権のもと、あなたの投稿は著作権の対象となります