メインコンテンツにスキップ

Microsoft Surface Laptop 3 15" LCD Panel Replacement

ご注意:あなたは前提となるガイドを編集しています。あなたが行なう変更は、この手順を含むガイド全体に反映されます。

英語
日本語

手順 16を翻訳中

手順16
Microsoft Surface Laptop 3 15" LCD Panel Replacement: 手順 0、 3の画像 1 Microsoft Surface Laptop 3 15" LCD Panel Replacement: 手順 0、 3の画像 2 Microsoft Surface Laptop 3 15" LCD Panel Replacement: 手順 0、 3の画像 3
  • Once you pass the right side of the sensor bracket, 84 mm (3.3 in) from the right edge, your pick can slide deeper under the screen.

  • Remember to not insert your pick deeper than 7 mm.

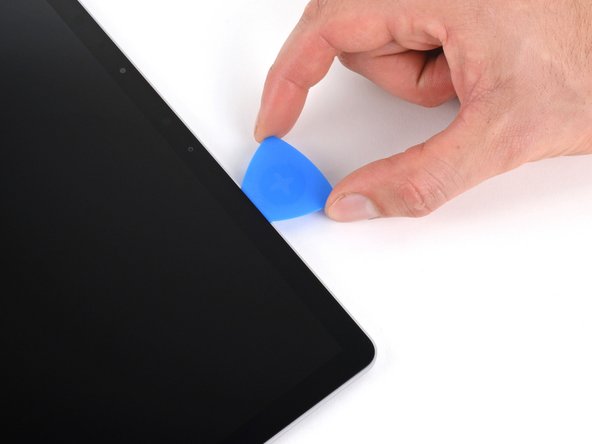
  • Slide your pick to the top right corner of the screen.

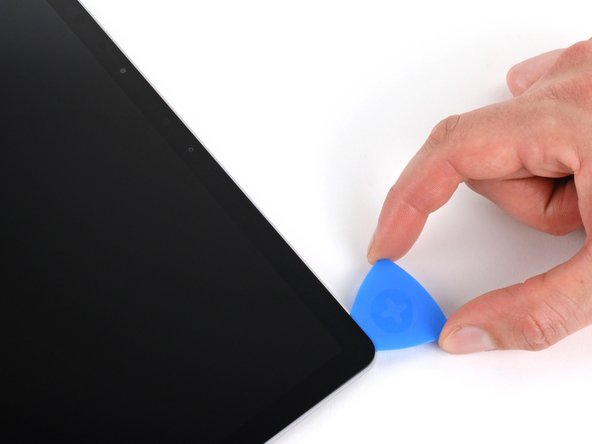
  • Leave this pick in the top right corner to prevent the adhesive from resealing.

ここに翻訳を挿入する

ここに翻訳を挿入する

ここに翻訳を挿入する

ここに翻訳を挿入する

クリエイティブコモンズのオープンソース著作権のもと、あなたの投稿は著作権の対象となります