手順 4を翻訳中
手順4


Remove the Keyboard
-
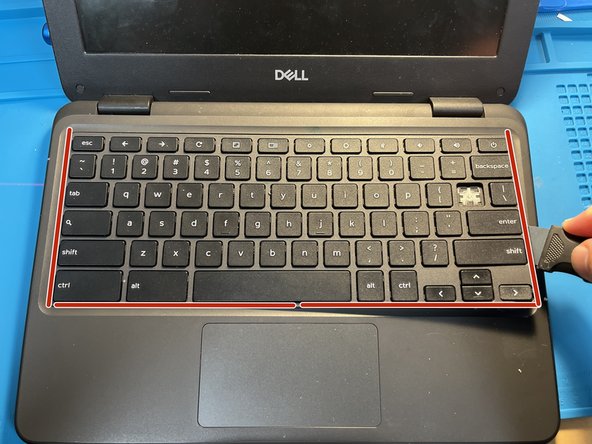
Turn the device over. Using your Jimmy, firmly press between the keyboard and the frame to separate it. Repeat this process along both sides and the bottom of the keyboard near the track pad.
-
IMPORTANT: This portion requires a bit of patience and a balance between the right amount of force and prying.
-
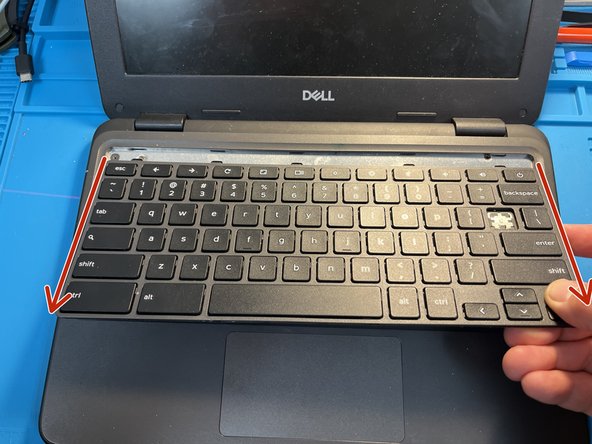
Once the three sides have been pried open, lift the keyboard slightly and pull towards you.
クリエイティブコモンズのオープンソース著作権のもと、あなたの投稿は著作権の対象となります。