手順 20を翻訳中


-
Remove the protective covering from the new screen.
-
Replace the the frame on both sides of the screen. Step 15 shows the frame attached to the screen.
-
Clean the face of the metal frame with isopropyl alcohol, taking care to avoid touching the LCD screen.
-
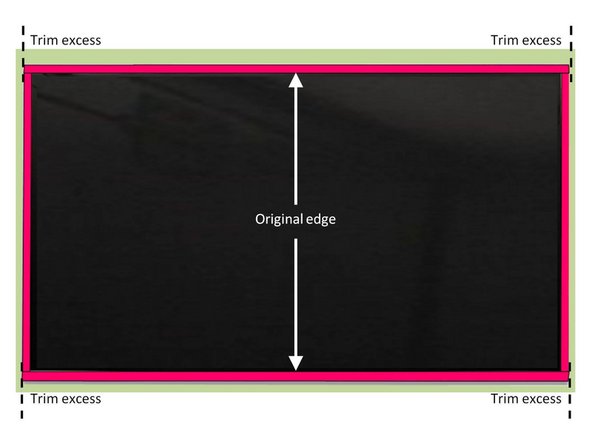
Apply the 12" strips to the sides with the original edge (not the side cut with the razor) to display side edge of the metal part of the frame. Do not let the tape overlap the LCD.
-
Trim the excess tape off the ends as shown to allow the tape at the top and bottom to cover from edge to edge.
-
Apply the 17" strips to the top and bottom of the frame with the original edge (not the side cut with the razor) to the metal part of the frame.
-
Trim the excess tape off top and bottom even with the outside edge of the tape on the sides.
クリエイティブコモンズのオープンソース著作権のもと、あなたの投稿は著作権の対象となります。