手順 11を翻訳中
手順11


-
Separate bezel the bezel across the bottom to the hinge.
-
Separate the other hinge cover.
-
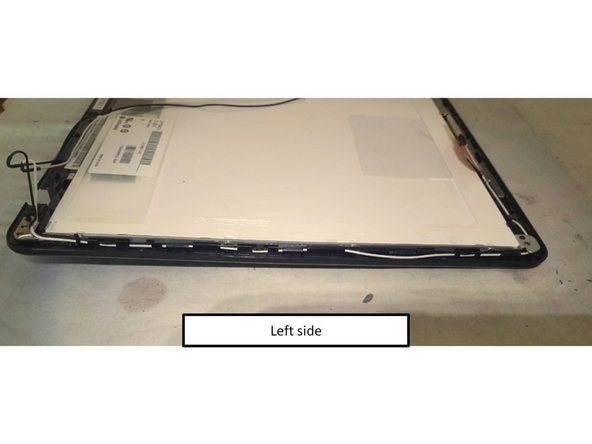
Work from bottom to top to separate the bezel sides.
-
Spudge along the top of the bezel to finish separating the bezel.
-
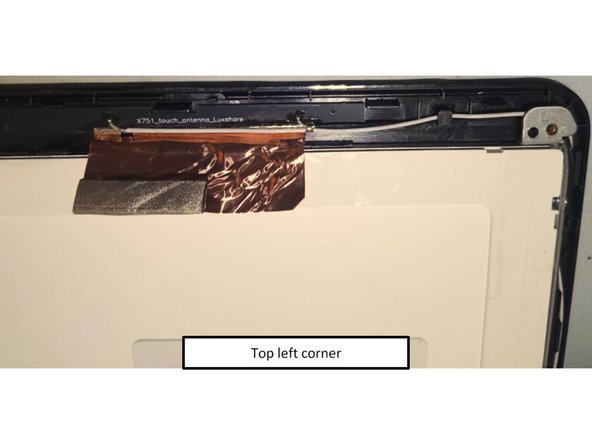
De-route cables from around left of the screen, noting the routing.
クリエイティブコモンズのオープンソース著作権のもと、あなたの投稿は著作権の対象となります。