メインコンテンツにスキップ

Sony Handycam FDR-AX33 Panel Replacement

注意:あなたは必要条件ガイドを編集しています。あなたが行なう変更は、この手順を含む全ての5個のガイドに反映されます。

英語
日本語

手順 8を翻訳中

手順8
Sony Handycam FDR-AX33 Panel Replacement: 手順 0、 3の画像 1 Sony Handycam FDR-AX33 Panel Replacement: 手順 0、 3の画像 2 Sony Handycam FDR-AX33 Panel Replacement: 手順 0、 3の画像 3
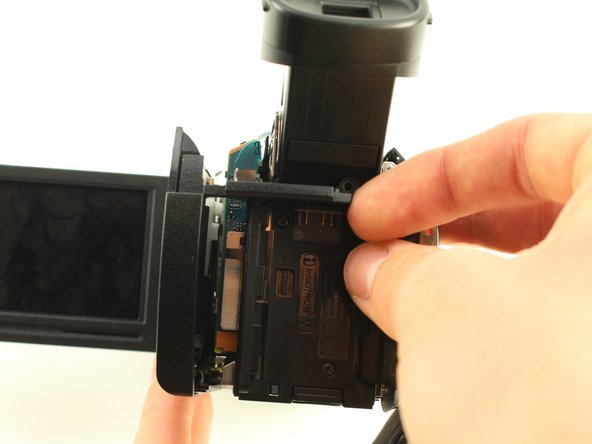
  • Remove the 4 mm Phillips #00 screw above and to the right of the battery slot.

  • Pry the left panel out at an angle by pushing the plastic slat between the battery slot and the eyepiece.

  • Wiggle the left panel and pull it out gently.

  • The left panel can be hard to remove so make sure to apply a good amount of force, but be cautious to not harm yourself or the device.

ここに翻訳を挿入する

ここに翻訳を挿入する

ここに翻訳を挿入する

ここに翻訳を挿入する

クリエイティブコモンズのオープンソース著作権のもと、あなたの投稿は著作権の対象となります