手順 7を翻訳中
手順7


-
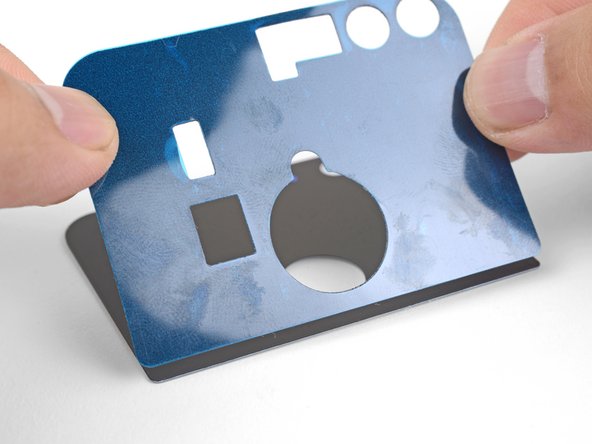
Peel the white backing away from the included adhesive sheet, making sure to punch out all cutouts.
-
Line the bottom edge of the adhesive to the bottom edge of the replacement glass panel.
-
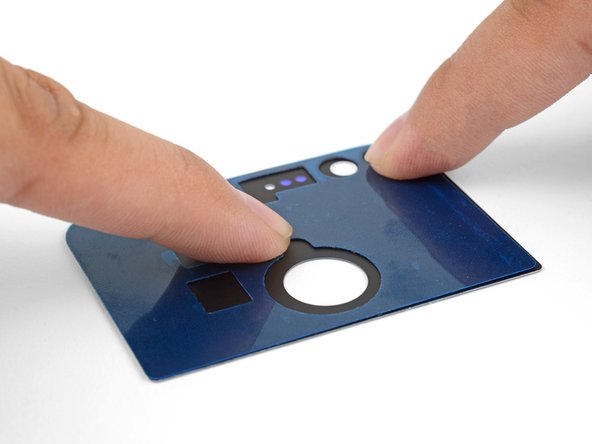
Slowly lower the adhesive onto the glass panel.
-
Rub your fingers against the adhesive to help it bond with the glass panel.
クリエイティブコモンズのオープンソース著作権のもと、あなたの投稿は著作権の対象となります。