注意:あなたは必要条件ガイドを編集しています。あなたが行なう変更は、この手順を含む全ての3個のガイドに反映されます。
手順 4を翻訳中
手順4


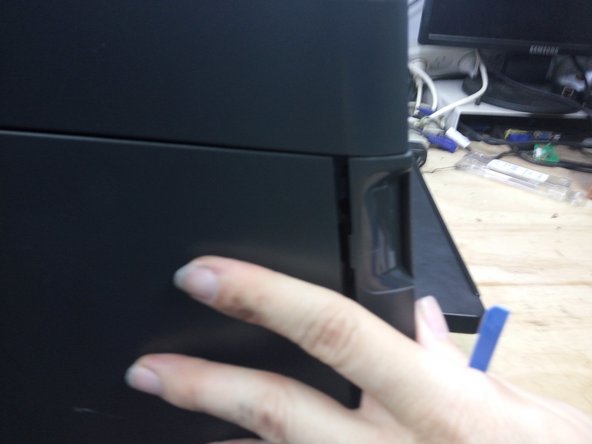
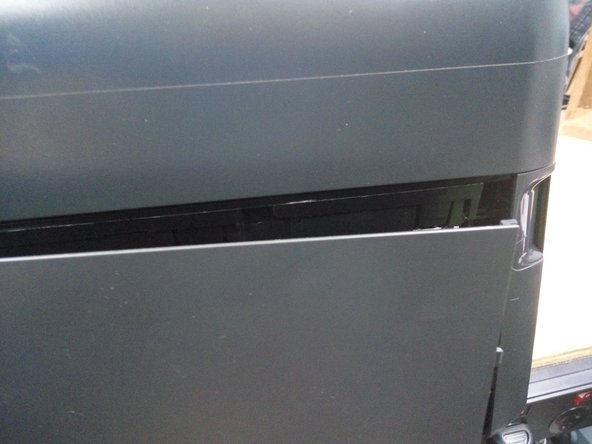
Left Side (Controller Board) Panel
-
On the back of the printer, remove the two screws on the right hand side (left-hand when viewed from the front.
-
Open the door on the front of the computer, and remove the one screw on the lower left-hand side.
-
Using a spudger lever firmly outwards on the lower rear side of the panel.
-
With your other hand, push the panel backwards, It will slide half a centimeter backwards and come free.
クリエイティブコモンズのオープンソース著作権のもと、あなたの投稿は著作権の対象となります。