メインコンテンツにスキップ

ZTE Max XL Rear-Facing Camera Replacement

必要な工具と部品

  1. ZTE Max XL Rear-Facing Camera Replacement, Rear-Facing Camera: 手順 1、 2の画像 1 ZTE Max XL Rear-Facing Camera Replacement, Rear-Facing Camera: 手順 1、 2の画像 2
    • Before disassembly, make sure that the phone is powered off.

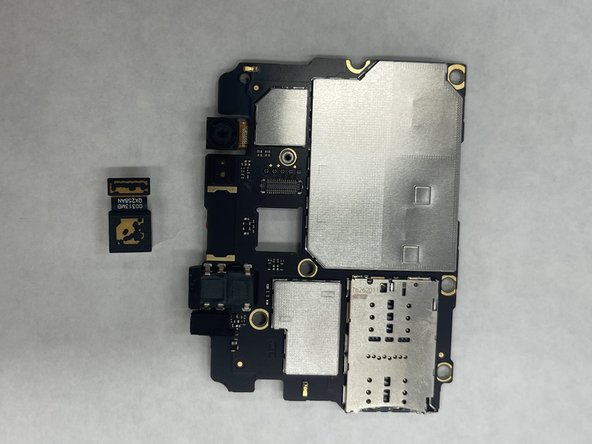
    • Remove the SIM Card tray using the SIM Card remover key. Insert the tool into the hole on the side of the phone near the SIM Card tray.

  2. ZTE Max XL Rear-Facing Camera Replacement: 手順 2、 1の画像 1
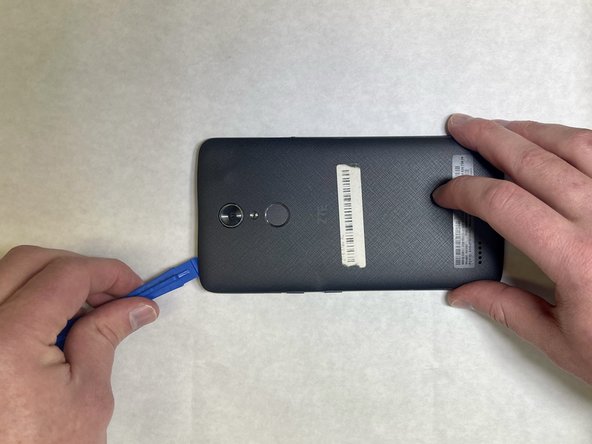
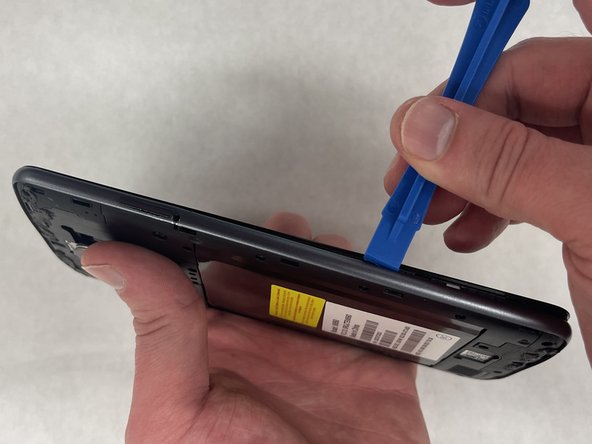
    • To break up any adhesive that connects the back plastic piece to the phone, apply the iOpener to the back of the phone. For instructions on how to use the iOpener please follow this guide.

    • On our phone there was adhesive on the top of the phone backing, so we specifically heated this area.

    • Do not heat the phone too much in one area - it may warp the plastic backing.

  3. ZTE Max XL Rear-Facing Camera Replacement: 手順 3、 3の画像 1 ZTE Max XL Rear-Facing Camera Replacement: 手順 3、 3の画像 2 ZTE Max XL Rear-Facing Camera Replacement: 手順 3、 3の画像 3
    • Starting at one corner, wedge a plastic opening pick or tool underneath the plastic backing to start undoing the tabs that connect the backing to the phone.

    • There are 3 tabs on top and bottom and 6 on each side.

  4. ZTE Max XL Rear-Facing Camera Replacement: 手順 4、 2の画像 1 ZTE Max XL Rear-Facing Camera Replacement: 手順 4、 2の画像 2
    • Remove the two 3.4 mm JIS #00 screws that hold the cable in place—one may be under a lock sticker.

  5. ZTE Max XL Rear-Facing Camera Replacement: 手順 5、 1の画像 1
    • Use a nylon spudger to lift the press-fit connector and free the ribbon cable from the main part of the phone.

  6. ZTE Max XL Rear-Facing Camera Replacement: 手順 6、 1の画像 1
    • Remove all nineteen 3.4 mm JIS #00 screws from the perimeter of the back.

  7. ZTE Max XL Rear-Facing Camera Replacement: 手順 7、 1の画像 1
    • Use an opening tool between the screen and side trim battery cover to remove the screen.

  8. ZTE Max XL Rear-Facing Camera Replacement: 手順 8、 2の画像 1 ZTE Max XL Rear-Facing Camera Replacement: 手順 8、 2の画像 2
    • Use a nylon spudger to carefully lift the 6 press-fit connections free from the motherboard.

  9. ZTE Max XL Rear-Facing Camera Replacement: 手順 9、 2の画像 1 ZTE Max XL Rear-Facing Camera Replacement: 手順 9、 2の画像 2
    • Use a nylon spudger to carefully lift the camera ribbon cable's press-fit connector free from the motherboard.

    • With the metal connector detached, the rear-facing camera is disconnected from the phone and can be replaced.

終わりに

To reassemble your device, follow these instructions in reverse order.

2 の人々がこのガイドを完成させました。

作成者

3人の作成者と共同で作成されました。

Blake Robbins

メンバー登録日: 03/30/22

190 ポイント

1ガイドが承認済み

チーム

IUPUI, Team 1-2, Harley Spring 2022 IUPUI, Team 1-2, Harley Spring 2022人のメンバー

IUPUI-HARLEY-S22S1G2

4 メンバー

3のガイドは作成済み

0 件のコメント

コメントを追加

統計データ:

過去 24時間: 0

過去 7 日: 4

過去 30 日: 8

今までの合計 96