メインコンテンツにスキップ

Xiaomi ROBOROCK S5 Laser Distance Sensor Motor Replacement

必要な工具と部品

  1. Xiaomi ROBOROCK S5 Laser Distance Sensor Motor Replacement, Laser Distance Sensor Motor: 手順 1、 3の画像 1 Xiaomi ROBOROCK S5 Laser Distance Sensor Motor Replacement, Laser Distance Sensor Motor: 手順 1、 3の画像 2 Xiaomi ROBOROCK S5 Laser Distance Sensor Motor Replacement, Laser Distance Sensor Motor: 手順 1、 3の画像 3
    • Power down your Roborock S5.

    • Place it on a flat work surface with the power buttons facing toward you.

    • Use an opening tool to carefully pry under the section of the top panel with the buttons.

    • Gently pull upward to snap the panel off the top of the vacuum. It is secured in place by five snaps that you will need to release to remove the panel.

    • This can take some force, and the snaps can be quite loud. Be careful not to break the panel.

  2. Xiaomi ROBOROCK S5 Laser Distance Sensor Motor Replacement: 手順 2、 3の画像 1 Xiaomi ROBOROCK S5 Laser Distance Sensor Motor Replacement: 手順 2、 3の画像 2 Xiaomi ROBOROCK S5 Laser Distance Sensor Motor Replacement: 手順 2、 3の画像 3
    • Use a Phillips #2 screwdriver to remove the six 9 mm screws securing the other half of the top panel that covers the dust bin.

    • Remove the two hinge covers to free the other top panel.

    • Gently lift the other half of the top panel off of the robot vacuum.

  3. Xiaomi ROBOROCK S5 Laser Distance Sensor Motor Replacement: 手順 3、 2の画像 1 Xiaomi ROBOROCK S5 Laser Distance Sensor Motor Replacement: 手順 3、 2の画像 2
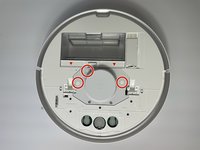
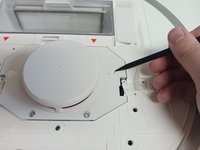
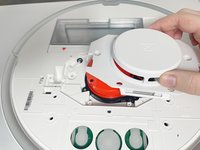
    • Use a spudger to pry off the rubber stoppers covering the three 12 mm screws that secure the Laser Distance Sensor housing cover.

  4. Xiaomi ROBOROCK S5 Laser Distance Sensor Motor Replacement: 手順 4、 3の画像 1 Xiaomi ROBOROCK S5 Laser Distance Sensor Motor Replacement: 手順 4、 3の画像 2 Xiaomi ROBOROCK S5 Laser Distance Sensor Motor Replacement: 手順 4、 3の画像 3
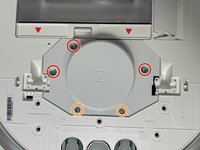
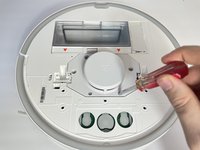
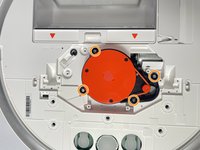
    • Use a Phillips #2 screwdriver to remove the three 12 mm screws holding the Laser Distance Sensor housing cover in place.

    • Use the same Phillips #2 screwdriver to remove the two 9 mm screws securing the Laser Distance Sensor housing cover.

    • Gently lift the cover off of the sensor.

  5. Xiaomi ROBOROCK S5 Laser Distance Sensor Motor Replacement: 手順 5、 3の画像 1 Xiaomi ROBOROCK S5 Laser Distance Sensor Motor Replacement: 手順 5、 3の画像 2 Xiaomi ROBOROCK S5 Laser Distance Sensor Motor Replacement: 手順 5、 3の画像 3
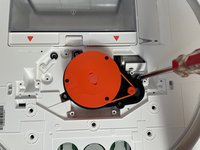
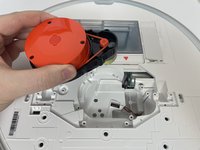
    • Use a Phillips #2 screwdriver to remove the four 9 mm screws holding the Laser Distance Sensor in place.

    • Gently lift it out of the robot vacuum.

  6. Xiaomi ROBOROCK S5 Laser Distance Sensor Motor Replacement: 手順 6、 2の画像 1 Xiaomi ROBOROCK S5 Laser Distance Sensor Motor Replacement: 手順 6、 2の画像 2
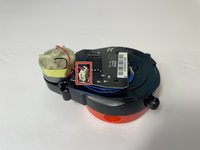
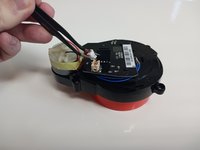
    • Turn the Laser Distance Sensor over so the backside is facing up.

    • Squeeze the tab against the connector, and pull the connector straight up from the socket to disconnect the power cable.

  7. Xiaomi ROBOROCK S5 Laser Distance Sensor Motor Replacement: 手順 7、 3の画像 1 Xiaomi ROBOROCK S5 Laser Distance Sensor Motor Replacement: 手順 7、 3の画像 2 Xiaomi ROBOROCK S5 Laser Distance Sensor Motor Replacement: 手順 7、 3の画像 3
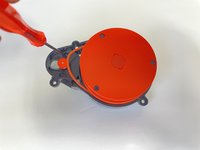
    • Turn the Laser Distance Sensor housing back over.

    • Use a spudger to detach the plastic cord from the motor that connects it to the laser.

    • Use a Phillips #1 screwdriver to remove the two 4 mm screws attaching the motor to the housing.

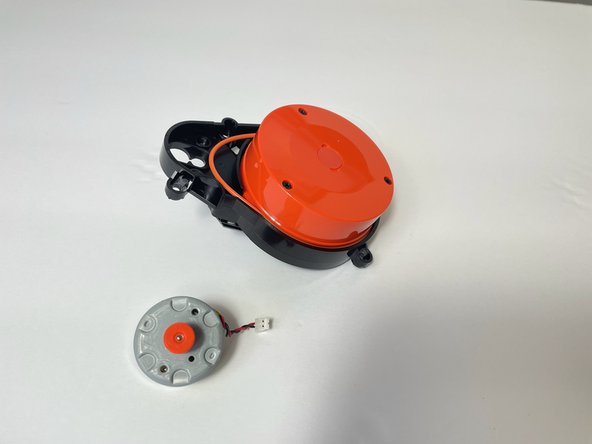
  8. Xiaomi ROBOROCK S5 Laser Distance Sensor Motor Replacement: 手順 8、 2の画像 1 Xiaomi ROBOROCK S5 Laser Distance Sensor Motor Replacement: 手順 8、 2の画像 2
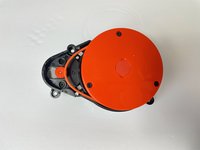
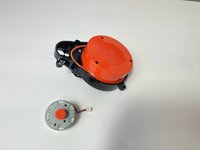
    • Slide the orange gear out of the housing to remove it.

終わりに

To reassemble your device, follow these instructions in reverse order.

ある他の人がこのガイドを完成しました。
作成者

2人の作成者と共同で作成されました。
Jacob Searcy

メンバー登録日: 09/13/23

606 ポイント

4のガイドは作成済み

チーム

Western Carolina University, Team 1-1, Virtue Fall 2023 Western Carolina University, Team 1-1, Virtue Fall 2023人のメンバー

WCU-VIRTUE-F23S1G1

5 メンバー

5のガイドは作成済み

0 件のコメント

コメントを追加

統計データ:

過去 24時間: 4

過去 7 日: 27

過去 30 日: 144

今までの合計 1,057